
I wanted to rehouse my old computer sound systems in plain wood. I had some old drawers on hand, and the goal was simple: smaller enclosures, natural timber, and a cleaner look than the original plastic and painted boxes.
Another motivation was to bring them together: I had acquired the two systems in different ways, and I wanted them to finally read as a real pair — same language, same wood.
There were two systems to redo — a black one and a grey/whitish one. Same idea for both, very different levels of difficulty.
Starting point: the old systems
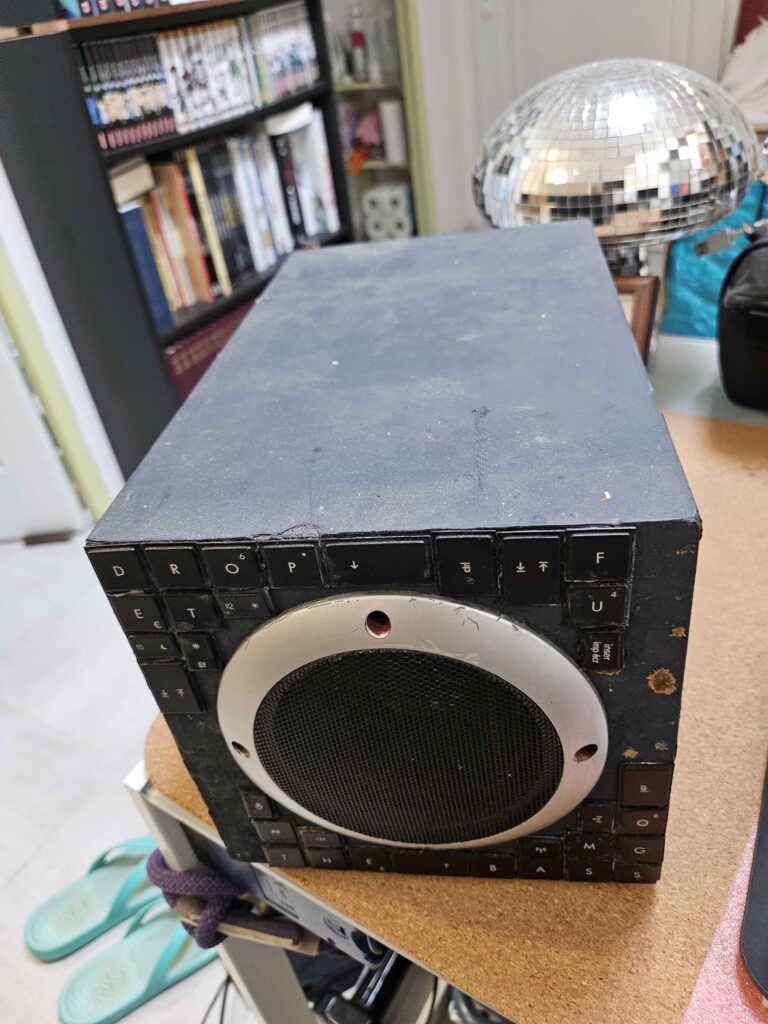
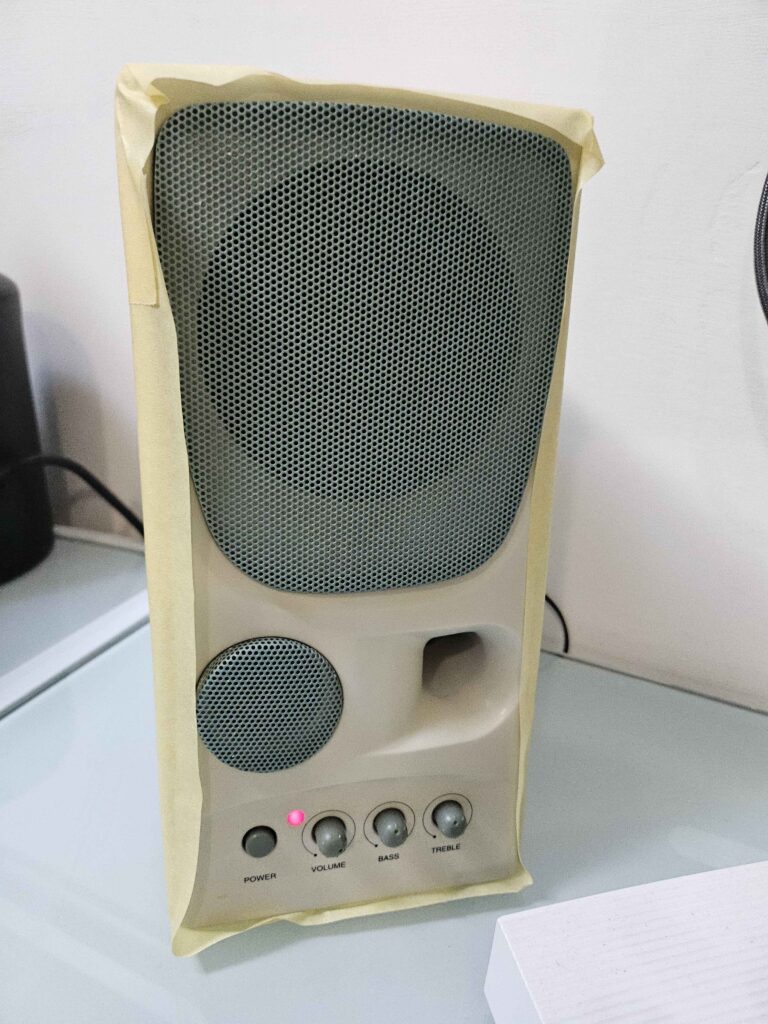
The black unit was a classic desktop speaker, already customized over the years. The grey/whitish one was a more complete plastic housing: drivers, controls, and a busy back panel with power and audio connectors.
Both worked. Neither matched what I wanted on the desk anymore.
The black system — a simple box
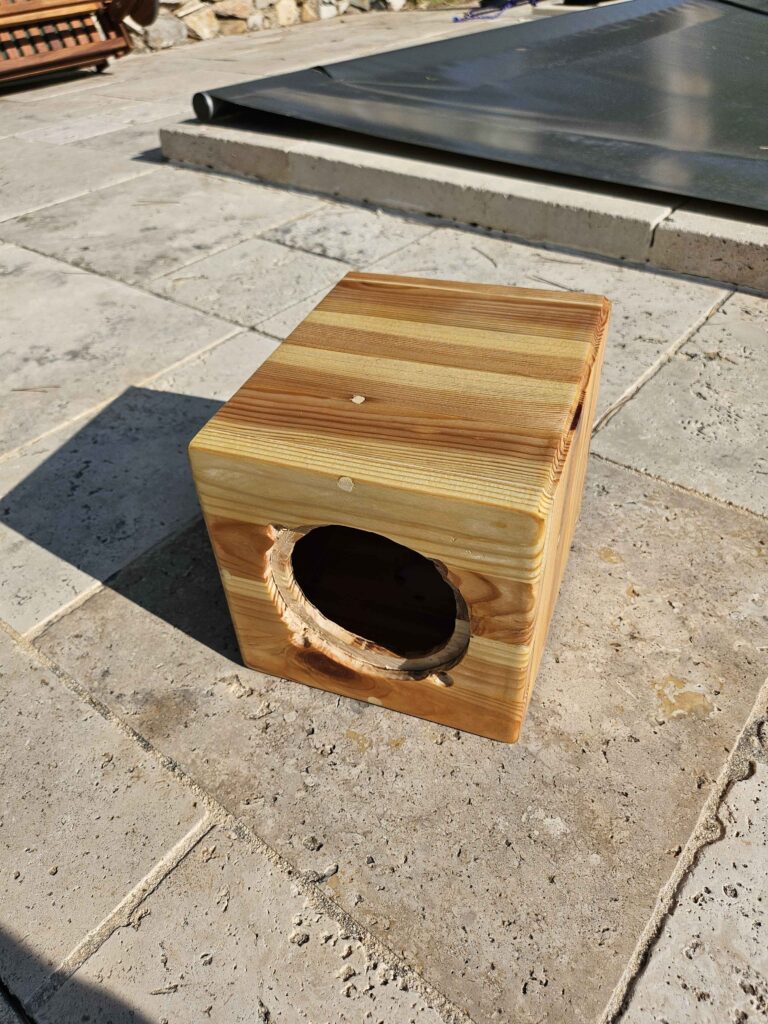
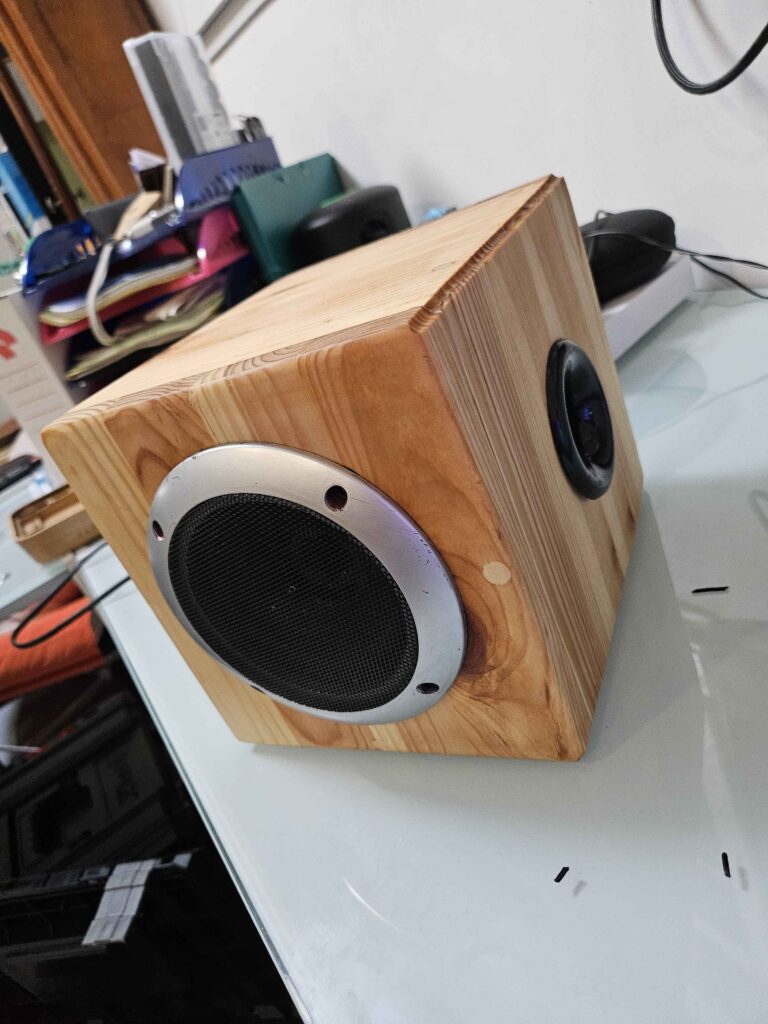
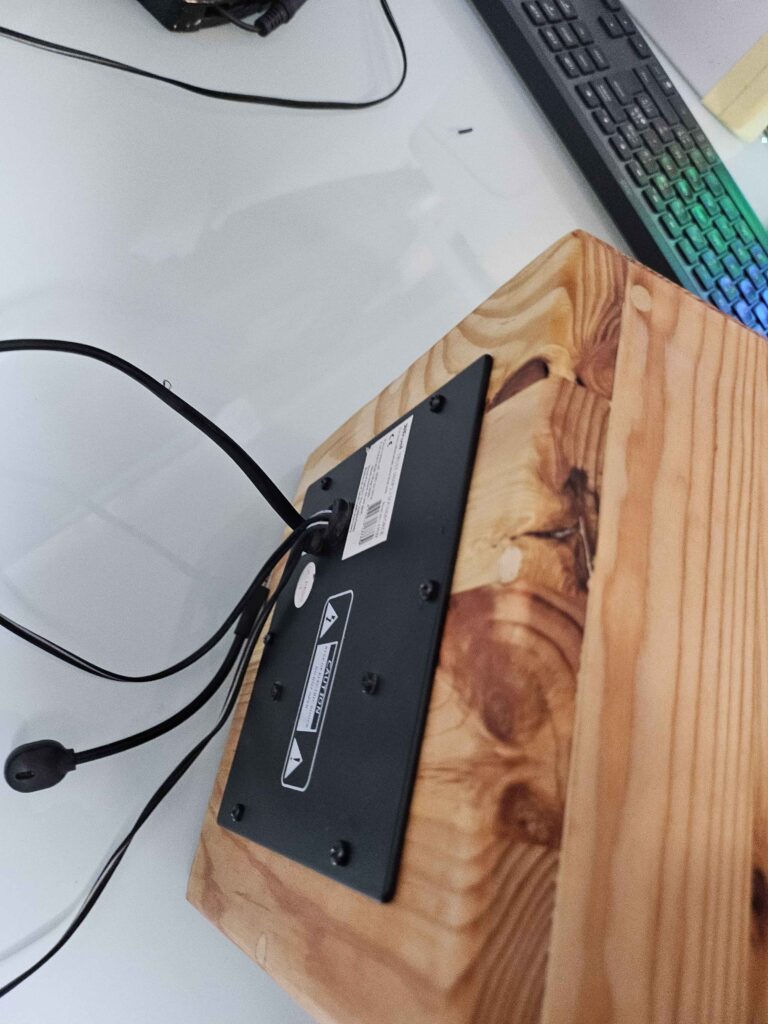
The black system was the easier of the two. The internals sat in a medium-density box, so the job was mostly: build a smaller wooden enclosure, then carve openings on the front and back for the driver and the original back plate.
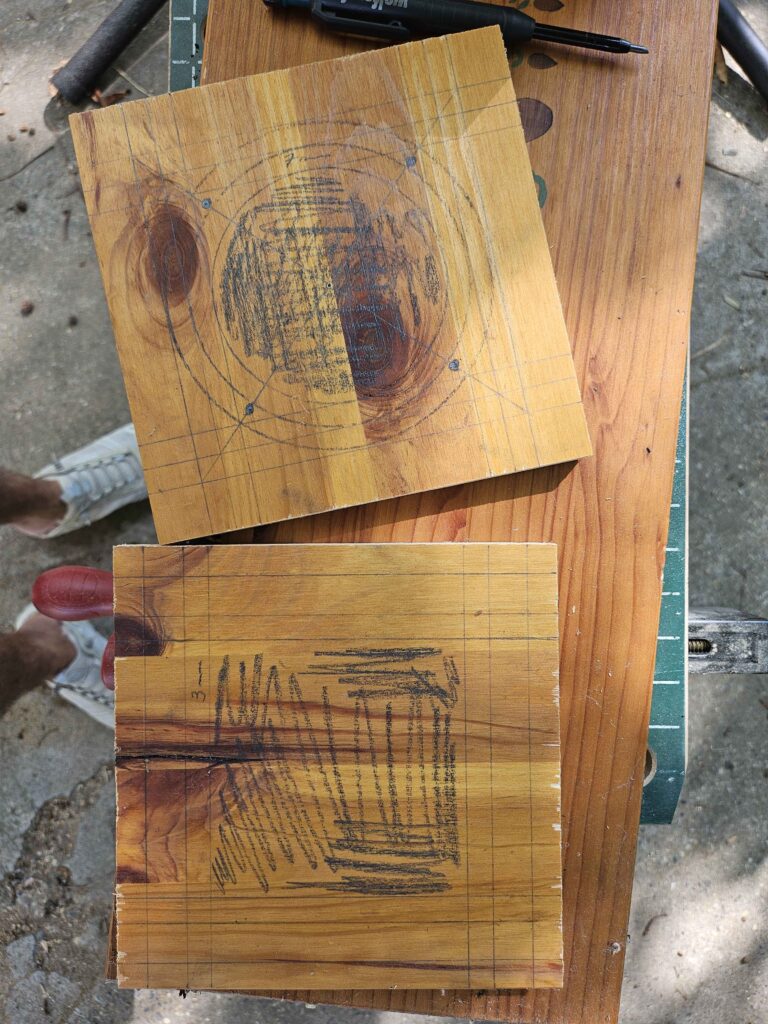
I marked the circular cutouts carefully, cut the holes by hand, and mounted the salvaged parts into the new box. The original rear panel screwed straight into the wood. Compared with what came next, this one felt straightforward.
The grey system — carving every opening
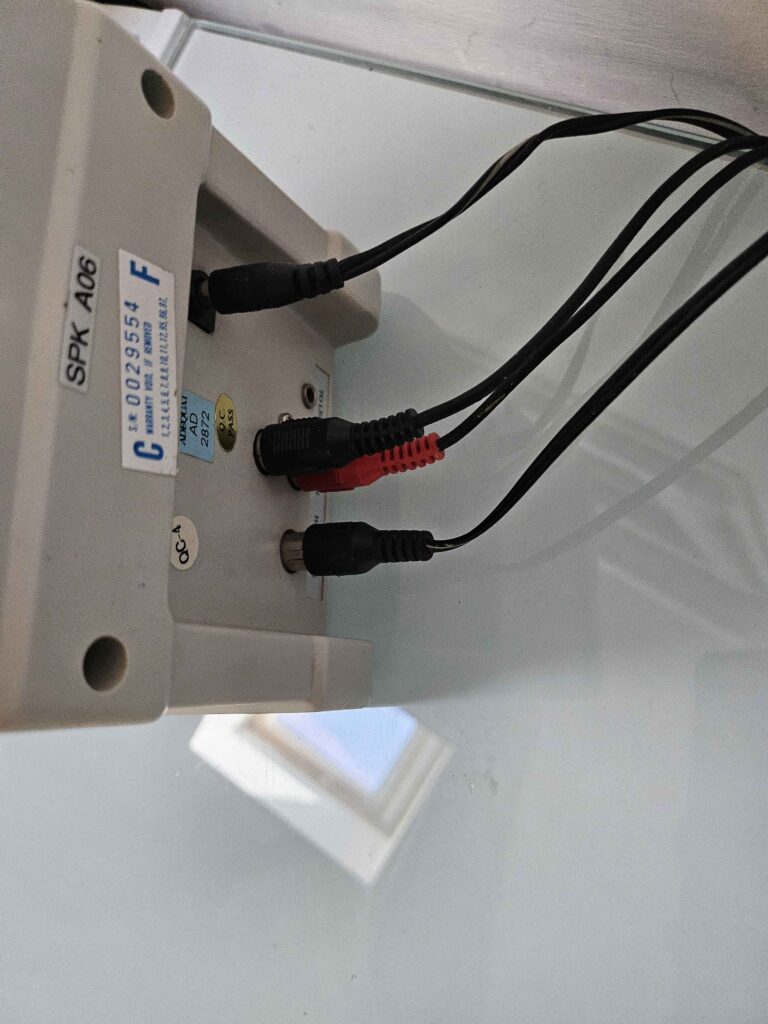
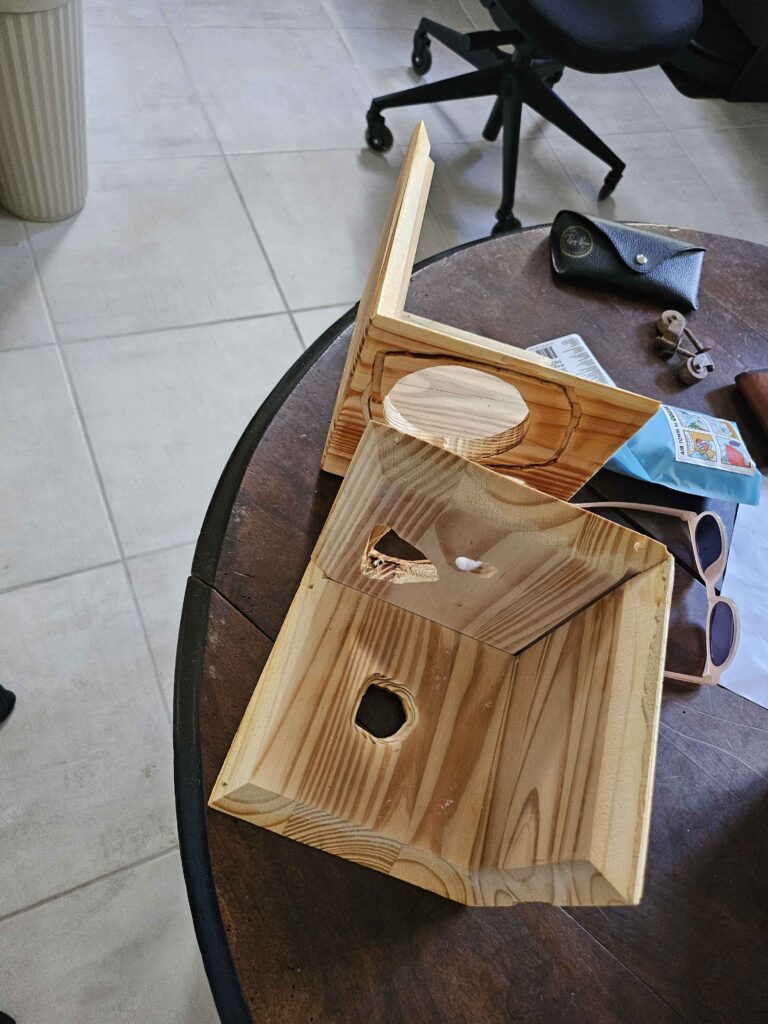
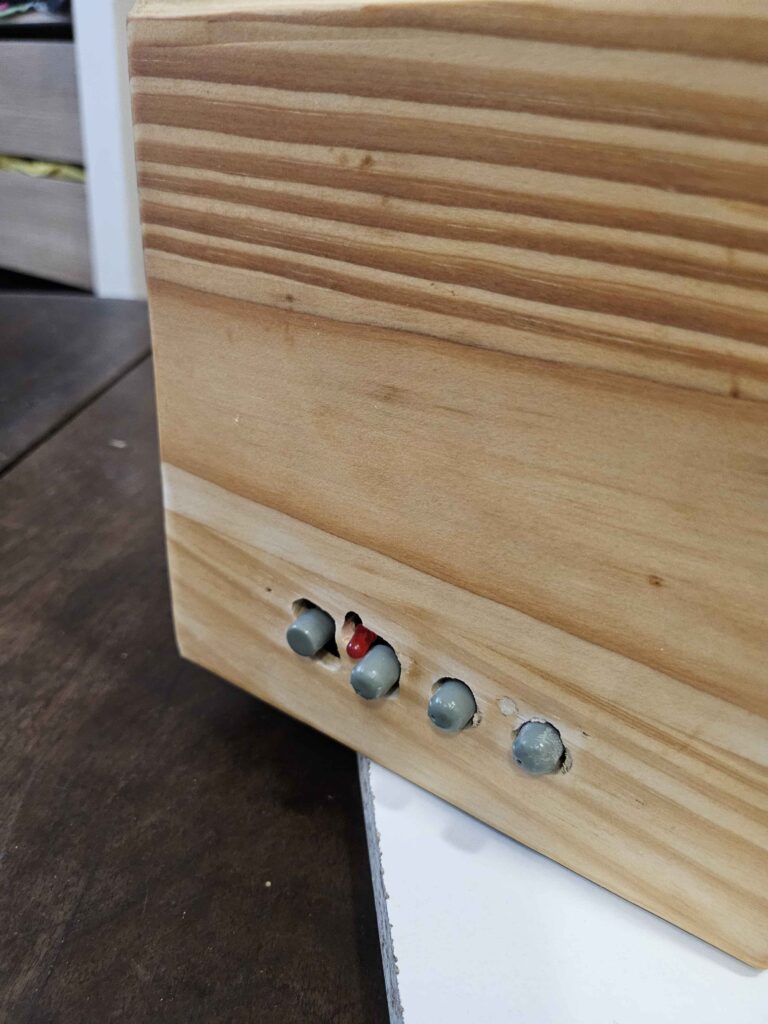
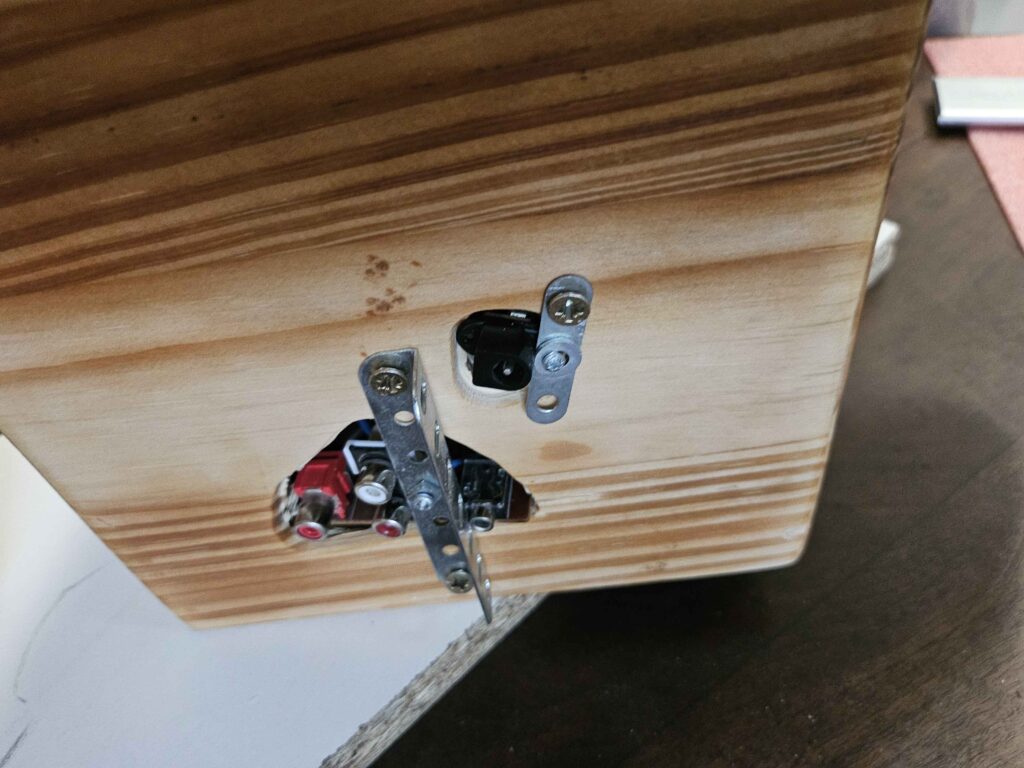
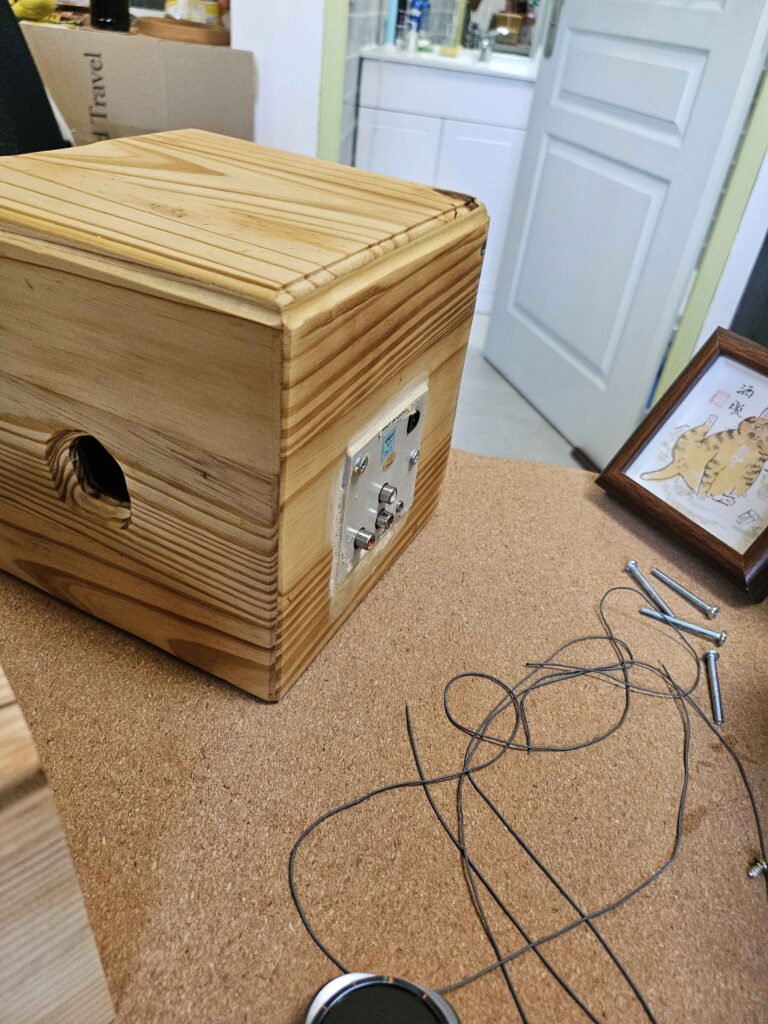
The grey/whitish system was trickier. Everything lived in plastic: buttons, knobs, indicator light, irregular grille shapes, and a dense back panel. Fitting that into solid wood meant carving multiple openings by hand, and aligning them precisely.
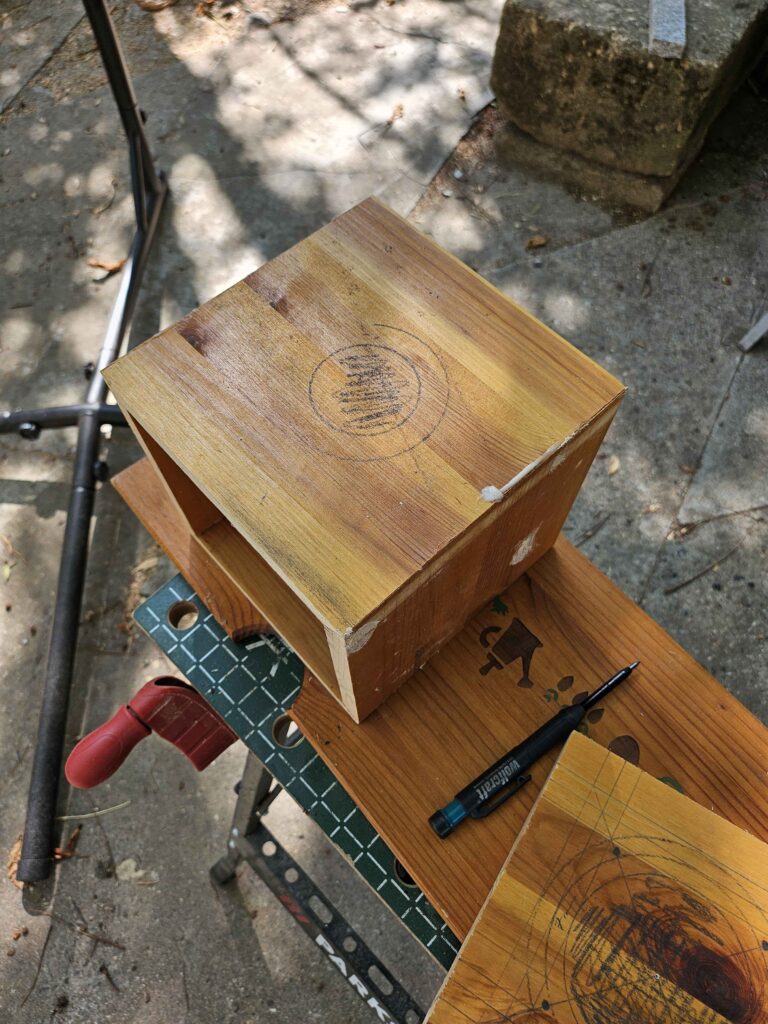
I built the box first as two corner assemblies, so I could open it and work on the inside more easily. Then came the hard part: matching button positions and panel cutouts manually.
It worked — but it looked rough. The button holes were uneven, the edges splintered, and the back openings needed improvised metal straps to hold the electronics. The upside: most of that ugliness sat on hidden faces.
Changing the approach
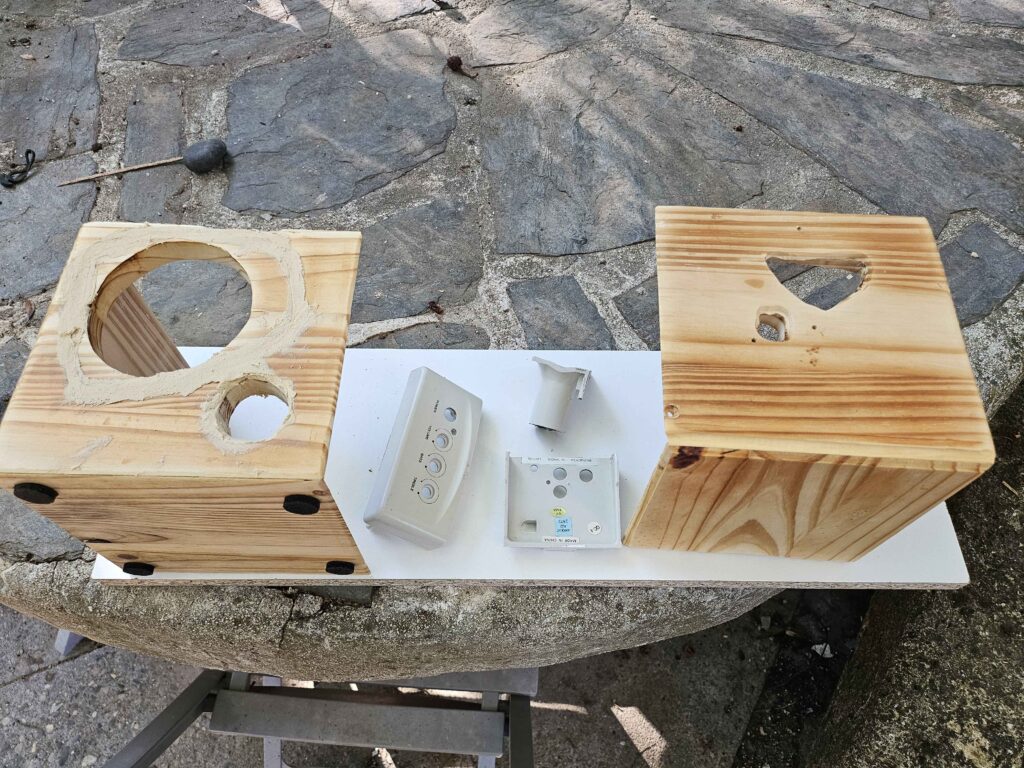
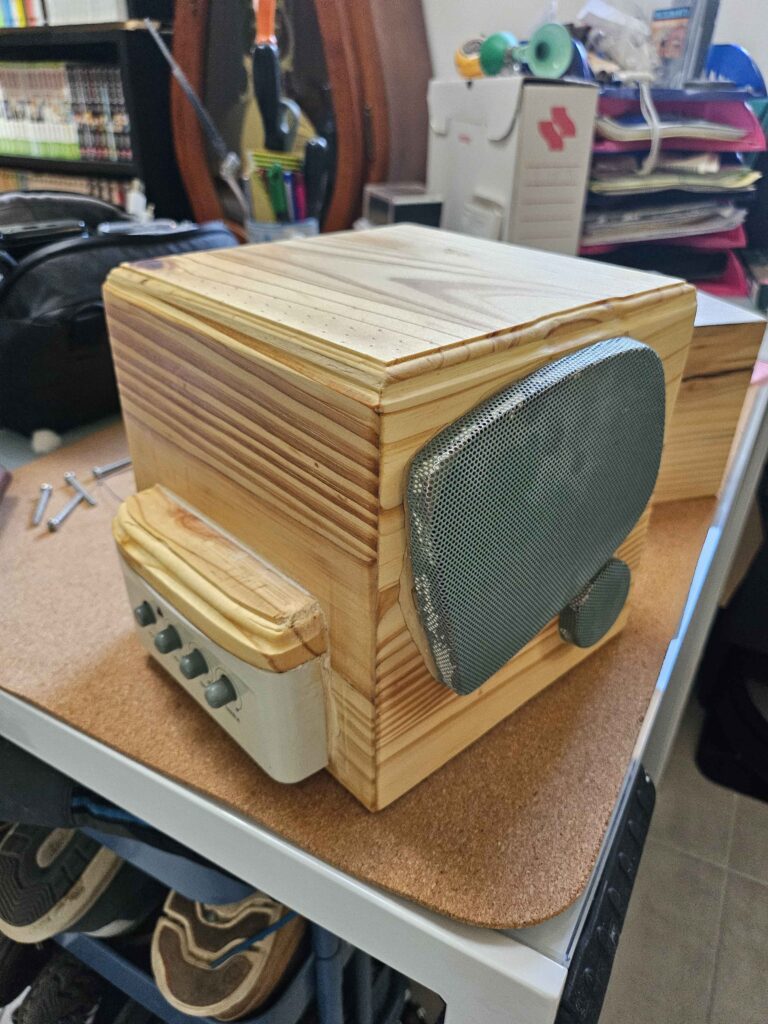
I was not satisfied. So I stepped back and tried another method: cut sections of plastic from the original housing and set them into the wooden box where the carving had failed.
That covered the rough button openings and cleaned up the control area. It was much easier than chasing perfect hand-cut holes in thick wood, and the result looked far more finished. The salvaged grilles and control panel finally sat cleanly in the timber.
Final result
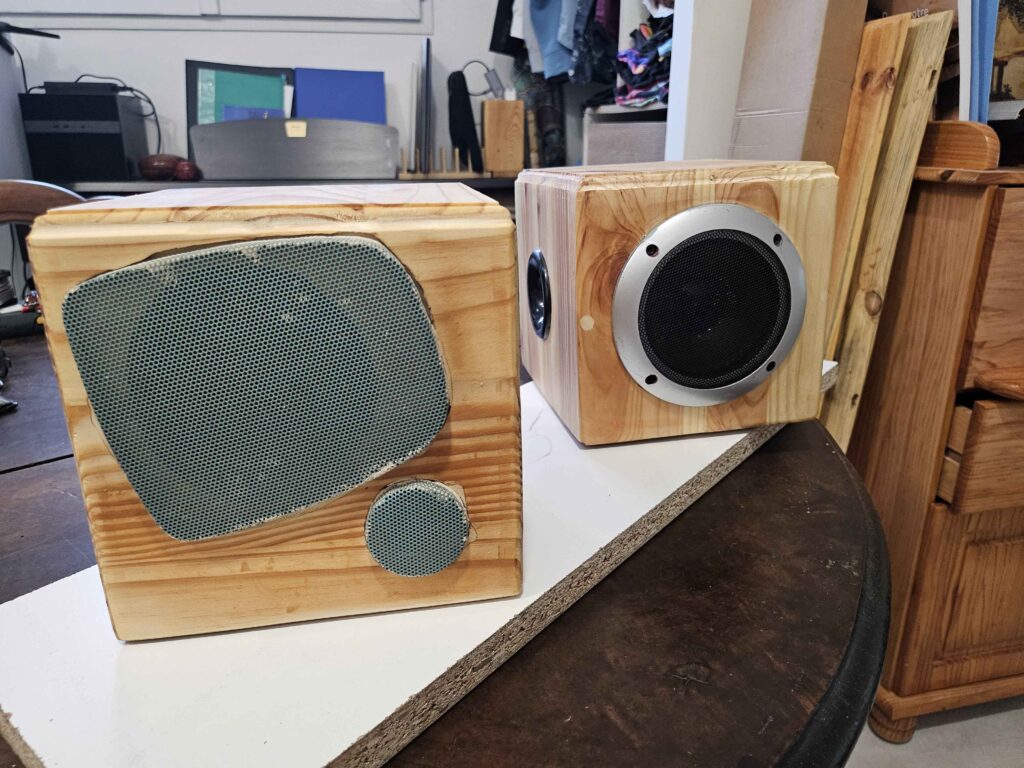
Both systems now live in smaller pine boxes made from old drawers. The black one keeps a simple circular driver and a clean integrated back plate. The grey one keeps its original grilles and controls, but wrapped in wood instead of a full plastic shell.
Same electronics. Different presence.
Feedback and lessons learned
Reclaimed drawer wood is enough for a solid small enclosure if you plan the openings carefully. Circular cutouts and flat panels are manageable by hand. Dense plastic interfaces — buttons, ports, irregular shapes — fight you the whole way.
The main lesson was not to force wood to imitate injection-moulded plastic. Where the carving became ugly, integrating a piece of the original housing was the better solution: faster, cleaner, and more honest about what each material does well.
If I were to do it again
- Start by deciding which original plastic parts to keep as inserts, instead of carving every opening from scratch;
- Keep the two-corner assembly for the more complex box — access to the inside mattered a lot;
- Accept that button alignment in solid wood is a poor use of hand tools when a plastic faceplate already exists;
- Sand and round the edges earlier; the softer look helps the wood and the salvaged parts read as one object.