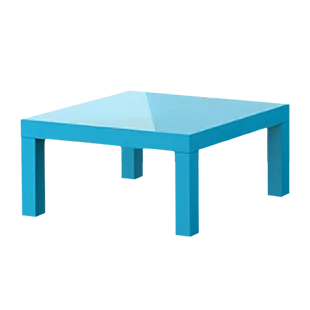
A friend gave me walnut boards that had been damaged by woodworm. After treating the wood thoroughly, I decided to give them a second life rather than throw them away. The idea was to build a small footrest: simple, sturdy, and pleasant to use every day.
Later I added a removable top, so the same piece can become a small side table when needed.
I took inspiration from a Danish cord weaving tutorial on YouTube: Making a footstool with Danish cord weaving.
1. Design and wood preparation
The starting point was salvaged walnut: usable, but marked by its history. Once the wood had been treated and dried, I sketched out the proportions on paper — a rectangular frame on four legs, low enough to work as a footrest.
The walnut still shows its scars: small holes and traces left by the insects. That character is part of the piece; it is something you would not get from new timber.
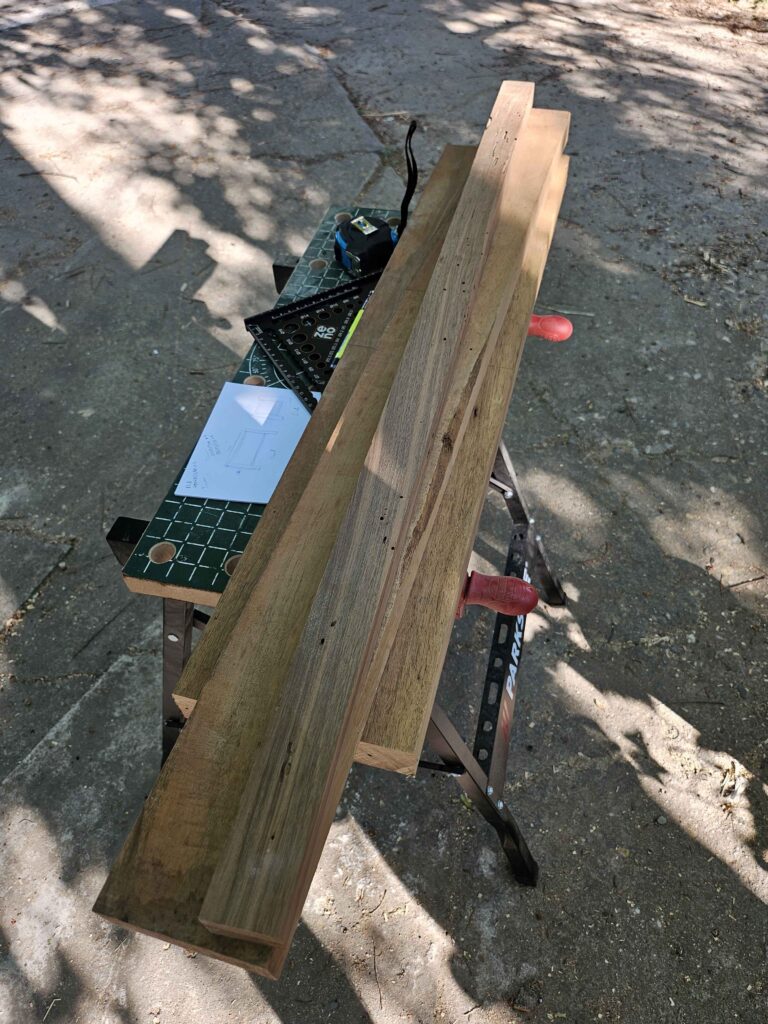
2. Preparing the parts and mortise-and-tenon joinery
Without a mortising machine, I adapted the joinery:
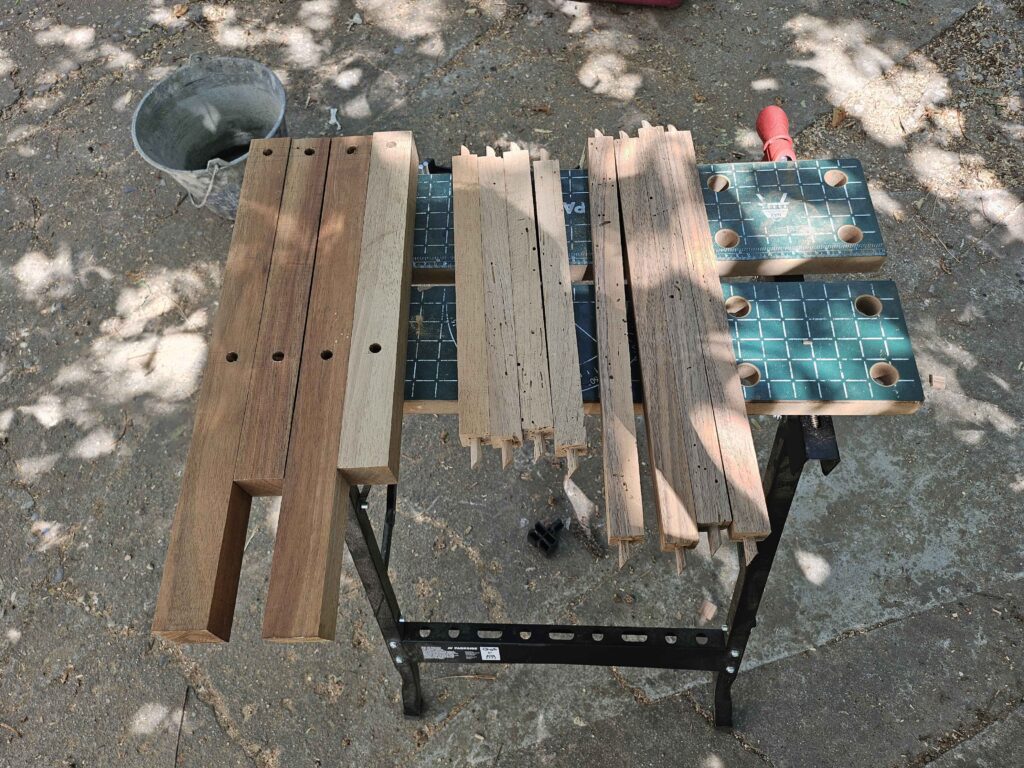
- Mortises: 10 mm holes drilled into the legs, on the two adjacent faces of each corner;
- Tenons: cut by hand at the ends of the rails;
- 45° mitre on the tenons so they meet cleanly inside the corner of each leg.
Eight rails in total: four at the top (seat frame) and four at the bottom (stretchers). With the parts laid out, the holes in the legs and the mitred tenons on the rails are clearly visible.
3. All-at-once glue-up
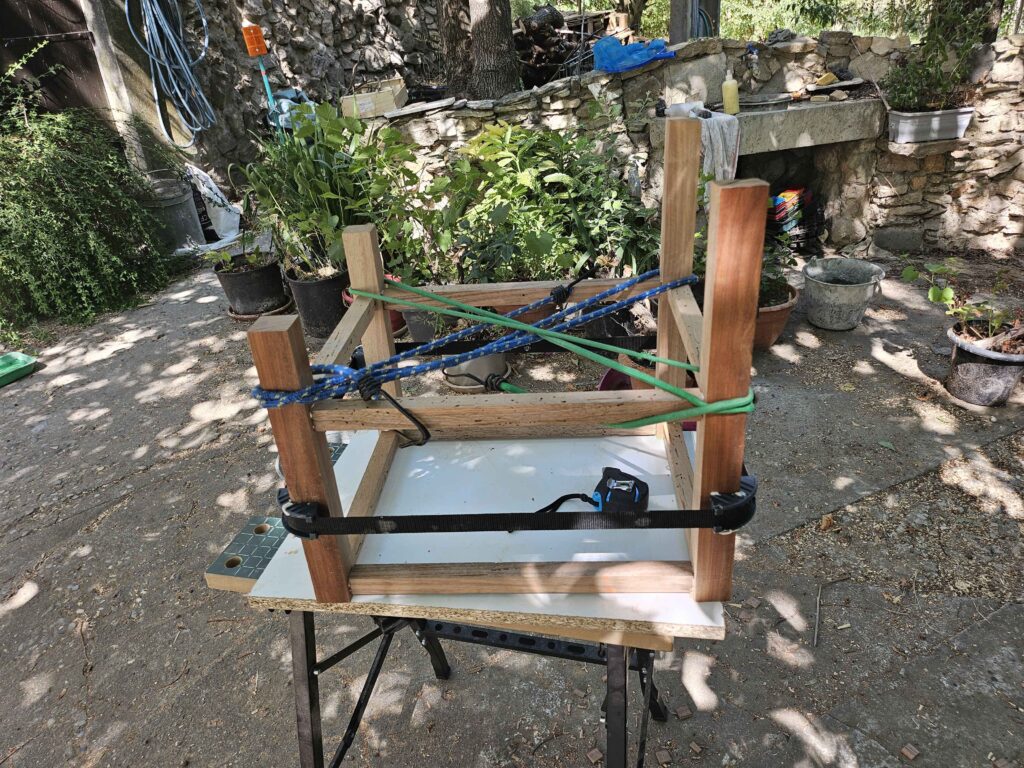
Rather than assembling the two sides first and then the front and back, I chose a single glue-up: every part at once. It is riskier — you have to work quickly and prepare clamping carefully — but it avoids squaring errors between sub-assemblies.
Clamping was done with what I had on hand: a ratchet strap and bungee cords crossed over the frame to keep everything square while the glue dried.
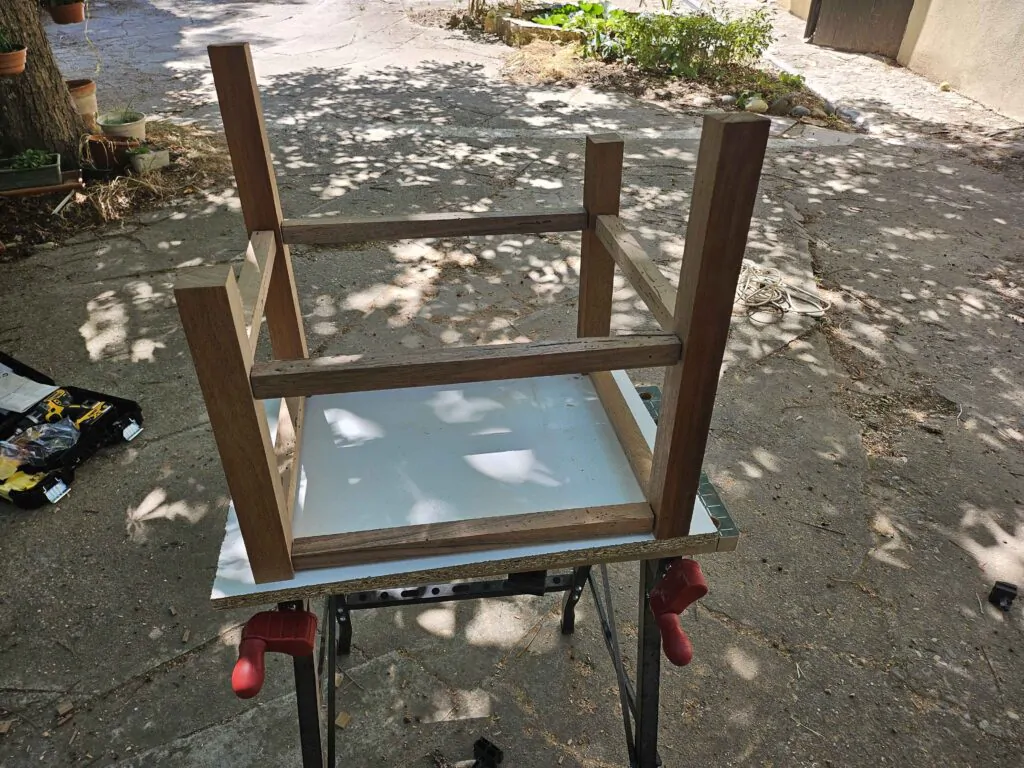
4. Mouldings — a detail added too late
I added mouldings along the edges of the legs after assembly. In theory, it improves the look; in practice, it created a constraint: with the rails already in place, the mouldings cannot run the full height of the legs. They stop just short of each joint — a detail you only notice if you look for it, but a lesson for next time.
5. Sanding and oiling
After progressive sanding, I applied oil to bring out the walnut grain and even out the tone. The wood gains warmth and depth; the old wormholes become texture rather than a flaw.
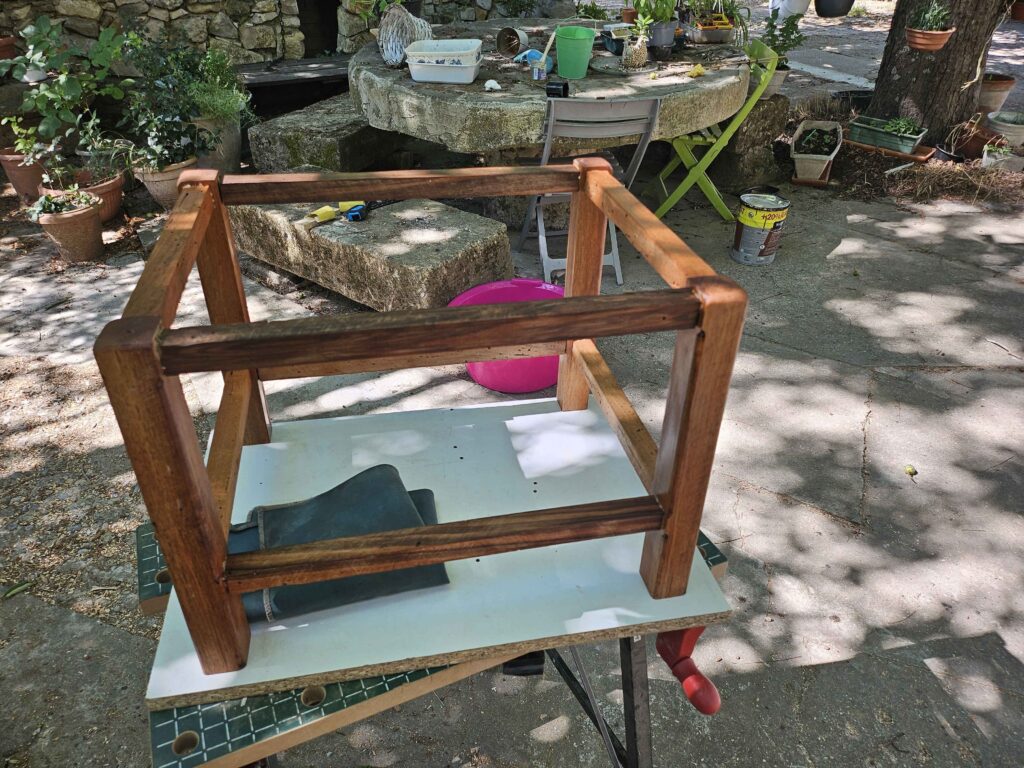
6. Danish cord weaving
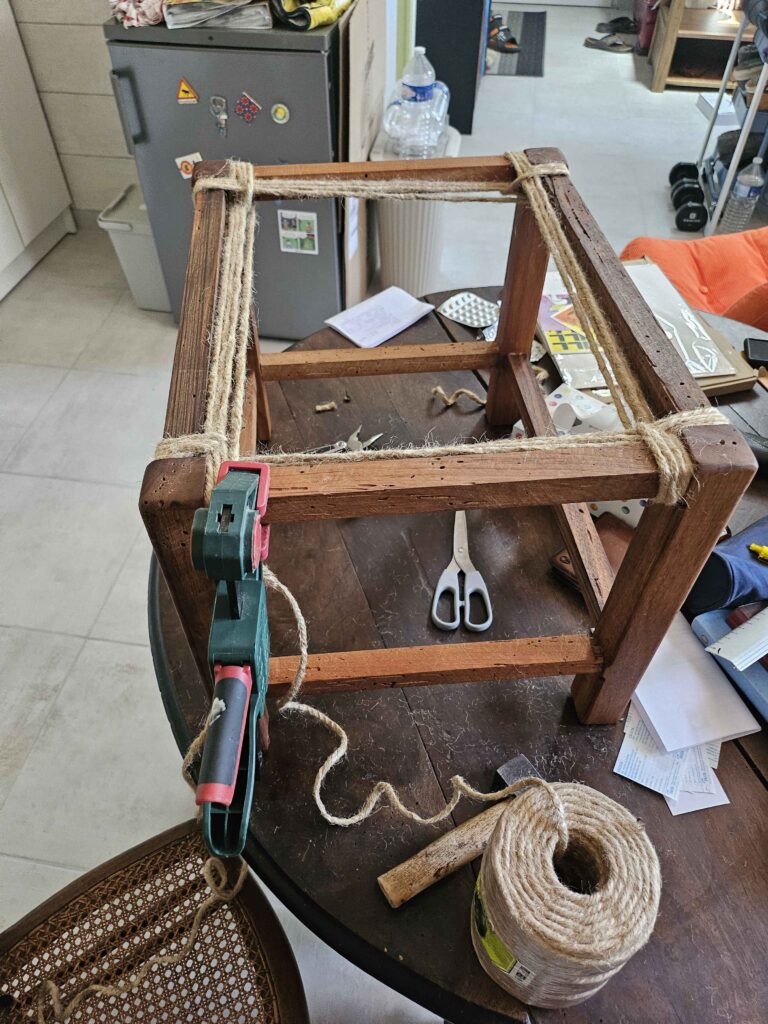
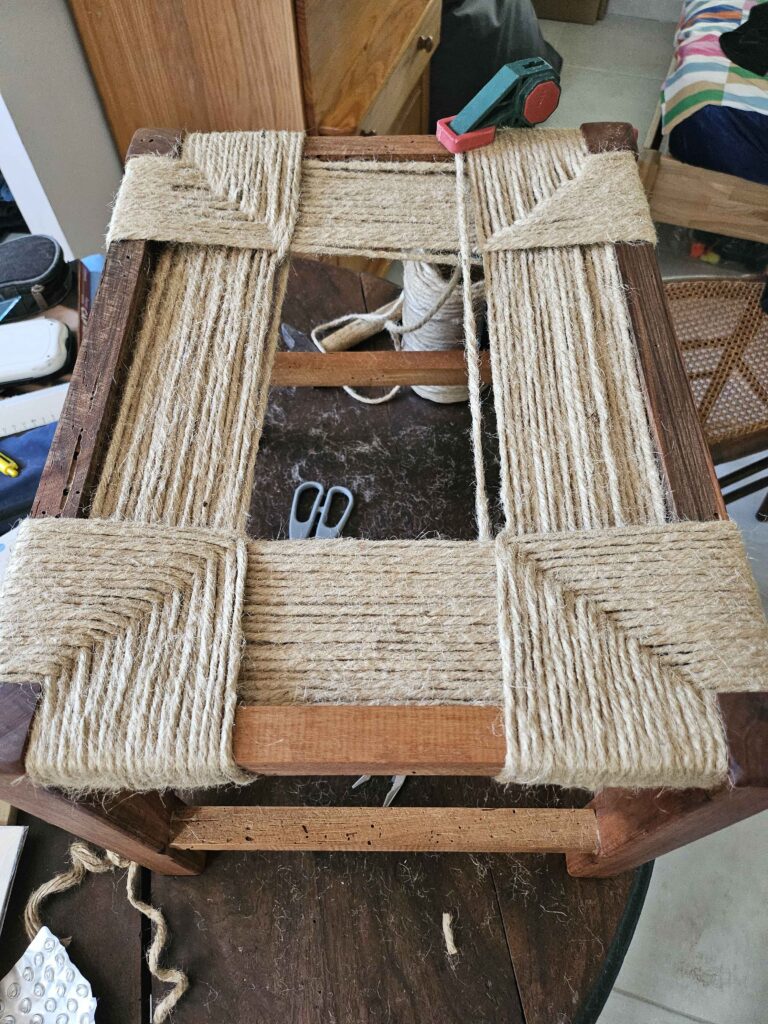
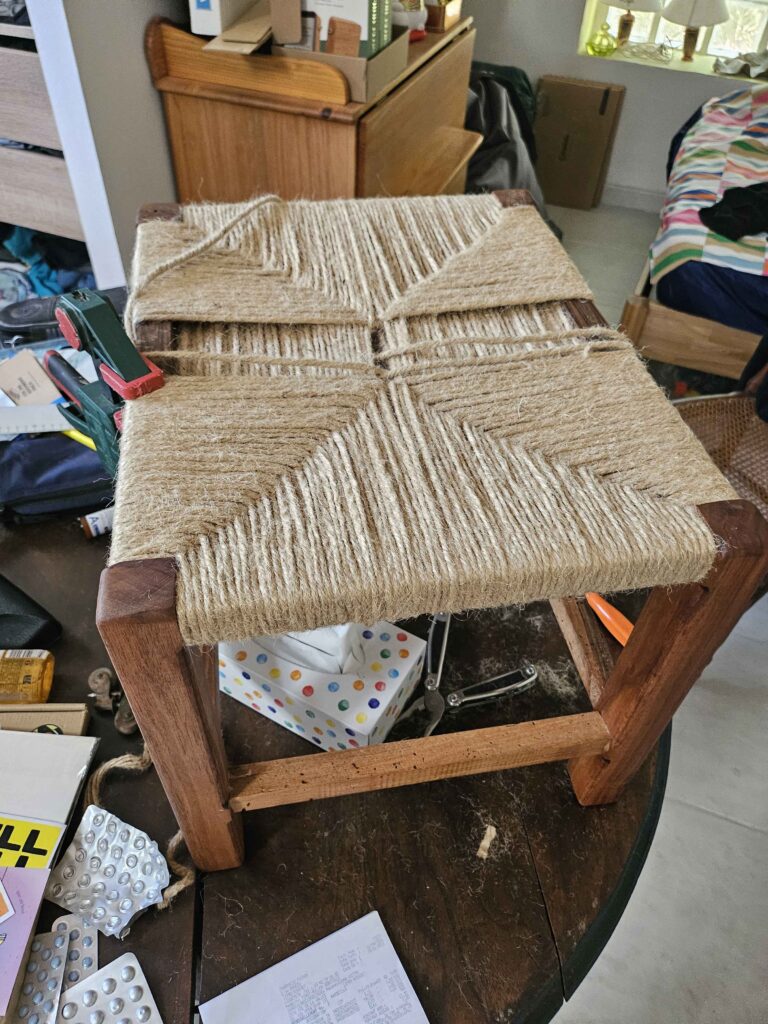
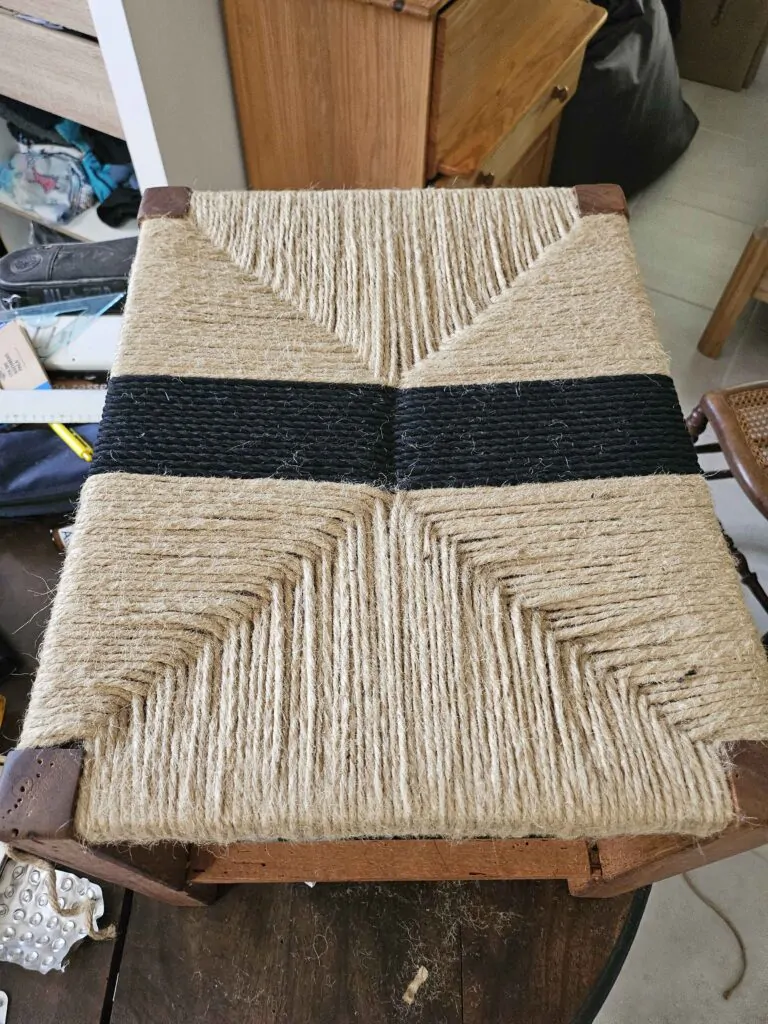
The next step was weaving the seat. I followed the approach from the tutorial — an envelope pattern in natural cord — with a black horizontal band across the centre to structure the design and add contrast.
Weaving takes patience: even tension, repeated passes around the frame, and clamps to hold the cord in place between sessions.
Aaaaand the cord was not long enough (100m though..) so I did put another one to finish it.
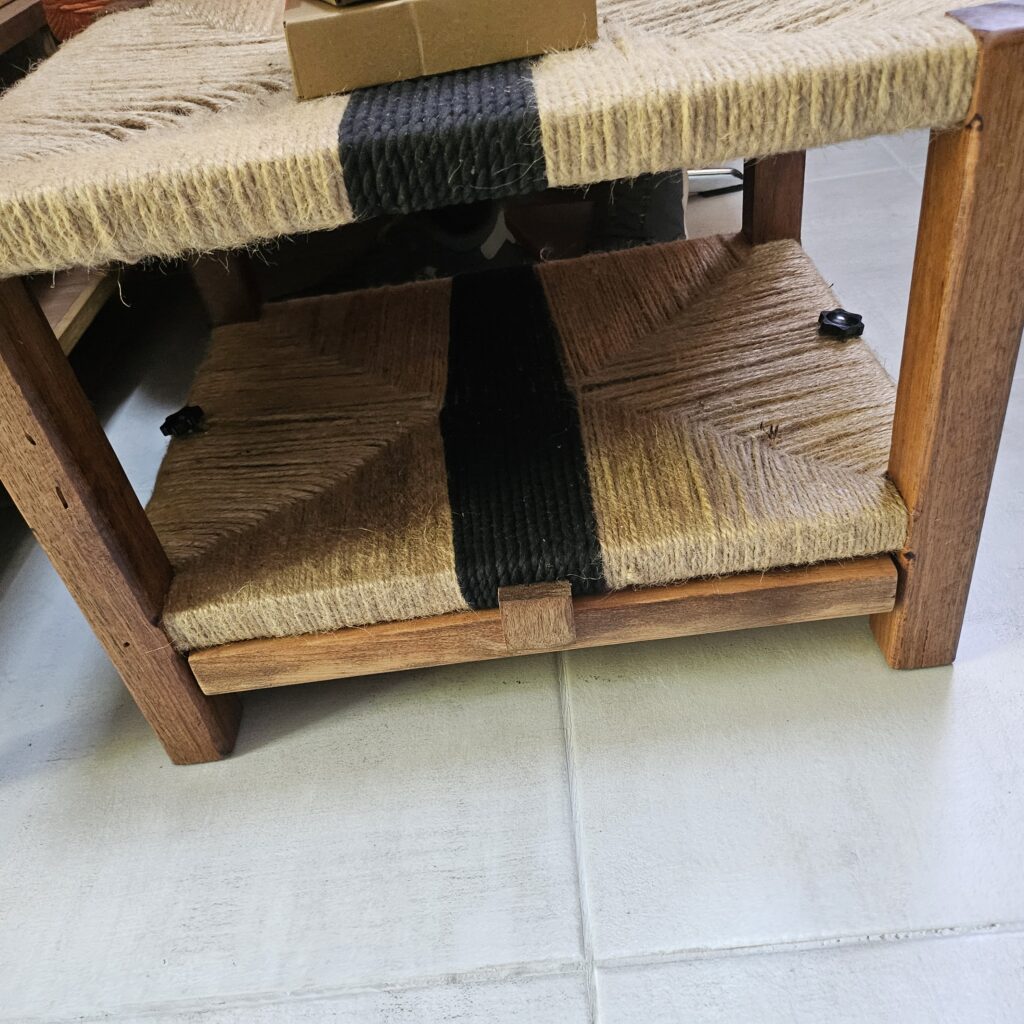
I wove both the seat and the lower shelf in the same envelope pattern, with the black band running through both.
7. A removable top — footrest or side table
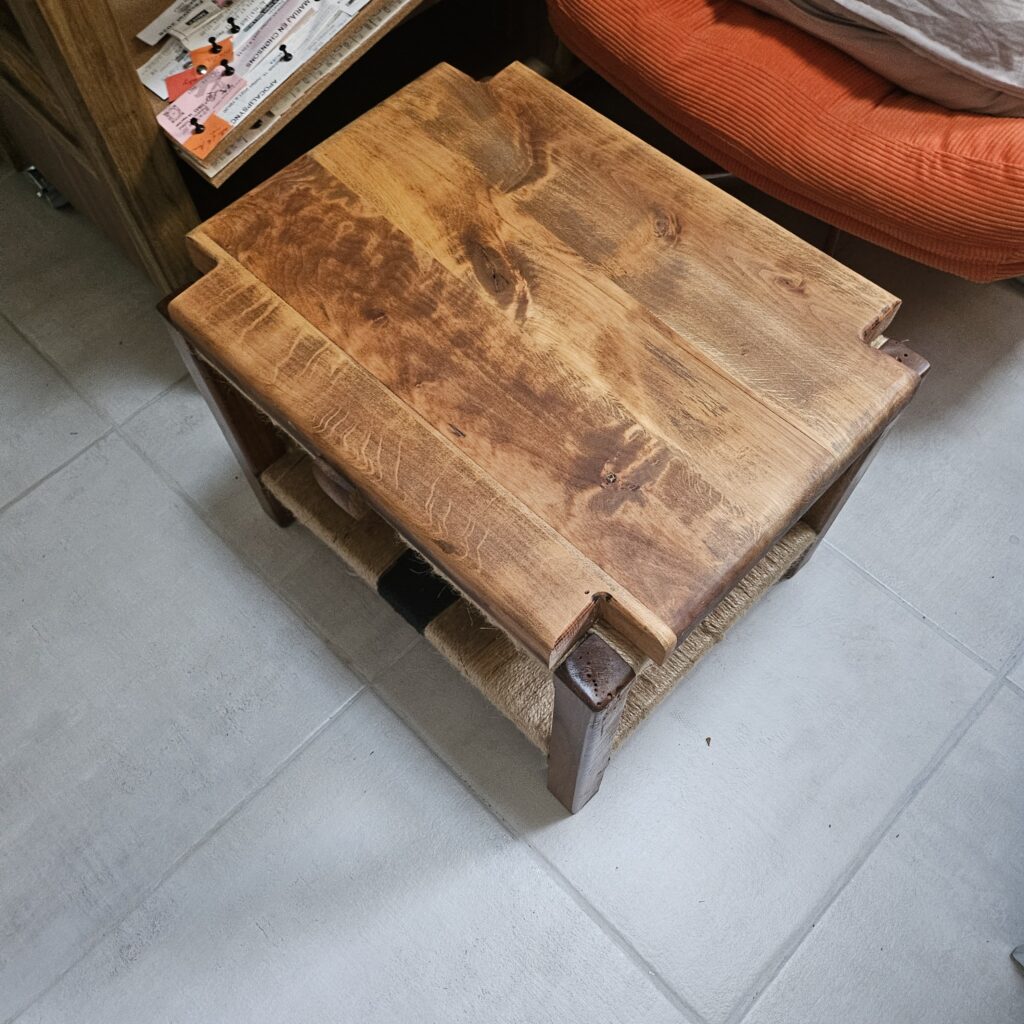
Once the weaving was done, I still had a few boards left. I made a small plateau that sits on the frame and turns the footrest into a low side table when needed.
The corners are notched so the top drops around the legs without looking bolted on. Same wood, same oil: it belongs to the piece rather than sitting on it like a tray.
When I want the footrest back, the plateau stores underneath, on the lower frame, held by a few discrete screws. Out of sight, but ready.
Feedback and lessons learned
This project shows that a careful piece of furniture can be made with limited means: no mortiser, a portable workbench, and reclaimed wood. The constraints shaped the technical choices — 10 mm holes, hand-cut tenons, all-at-once glue-up — and the result is solid.
Beyond the object itself, the main lesson was adaptation: imperfect material, reduced tooling, and details (mouldings) that should have been planned earlier in the process.
The plateau came later, once the piece was already in use: the dual function was not part of the first sketch, but leftover wood made it an obvious next step.
If I were to do it again
- Plan the mouldings before glue-up, while the legs are still free, so they can run the full height;
- Assemble in two stages (sides first, then front and back) for a less stressful glue-up, even though the all-at-once approach worked;
- Check mortise alignment with a template before drilling all four legs;
- Allow more time for the weaving — it is the longest step, and the most rewarding one.