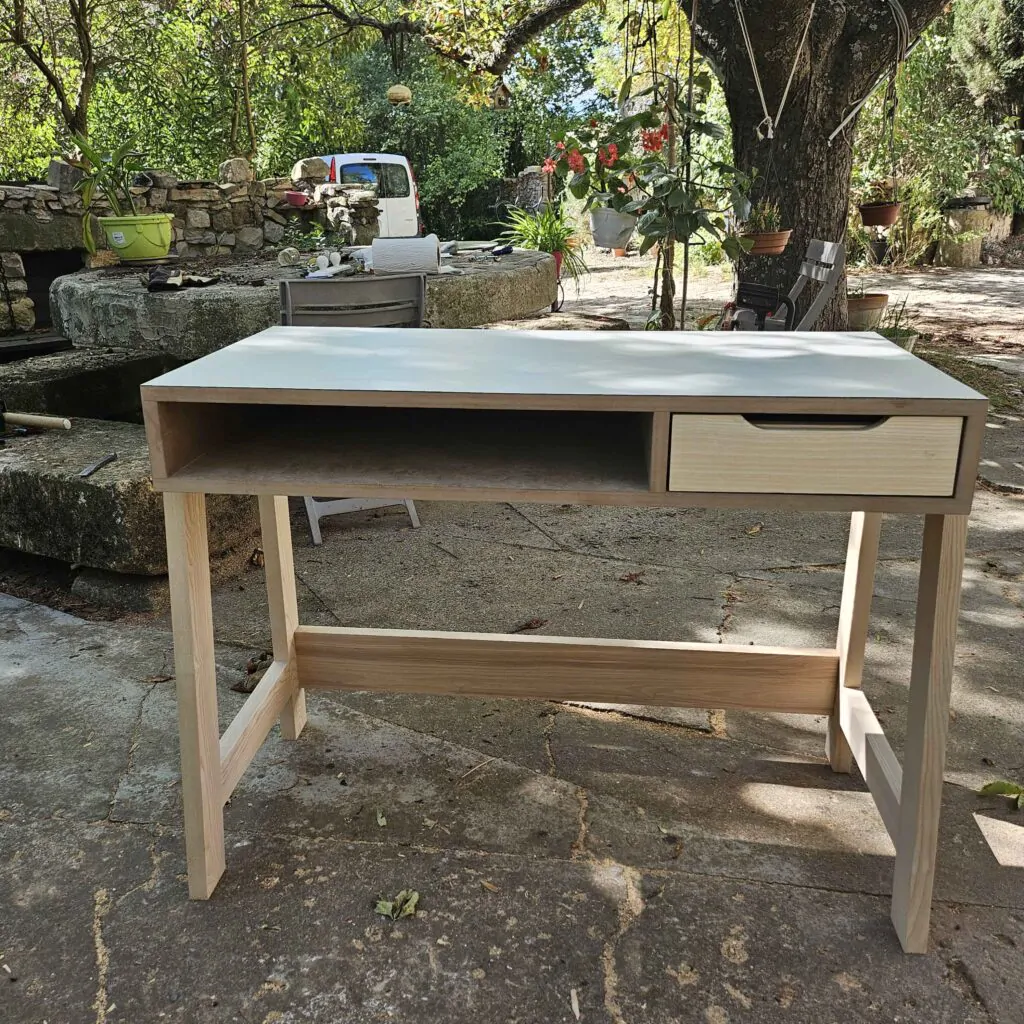
This desk is the piece I made for the practical exam (EP2) of the NVQ in Carpentry and Furniture making, 2026 session. The brief is public in french: CAP Menuisier Fabricant EP2 2026.
The piece combines a solid-ash underframe, an MDF cabinet body faced with laminate, and a solid-ash drawer. What I care about is what the exam actually asked — read the drawing, machine accurately, and recover when stress produced two copies of the same part.
For the exam, the machines were already set. If the dimensions were right and the workpiece was positioned correctly, the parts came out clean. The mistakes happen before that: on the bench, with a pencil.
1. The underframe
I started with the underframe. That is the structure: solid ash, mortise-and-tenon joinery, a lower stretcher between the legs.
The legs look alike. Too much, in my case. I machined two identical legs, even though a stretcher has to sit between them — so mortises facing each other, not twice the same side. Rather than recut a part, I deepened the mortise on one of them so the stretcher could still go in.
It holds. It is not what was planned, but it lets the exam continue.
2. The cabinet body
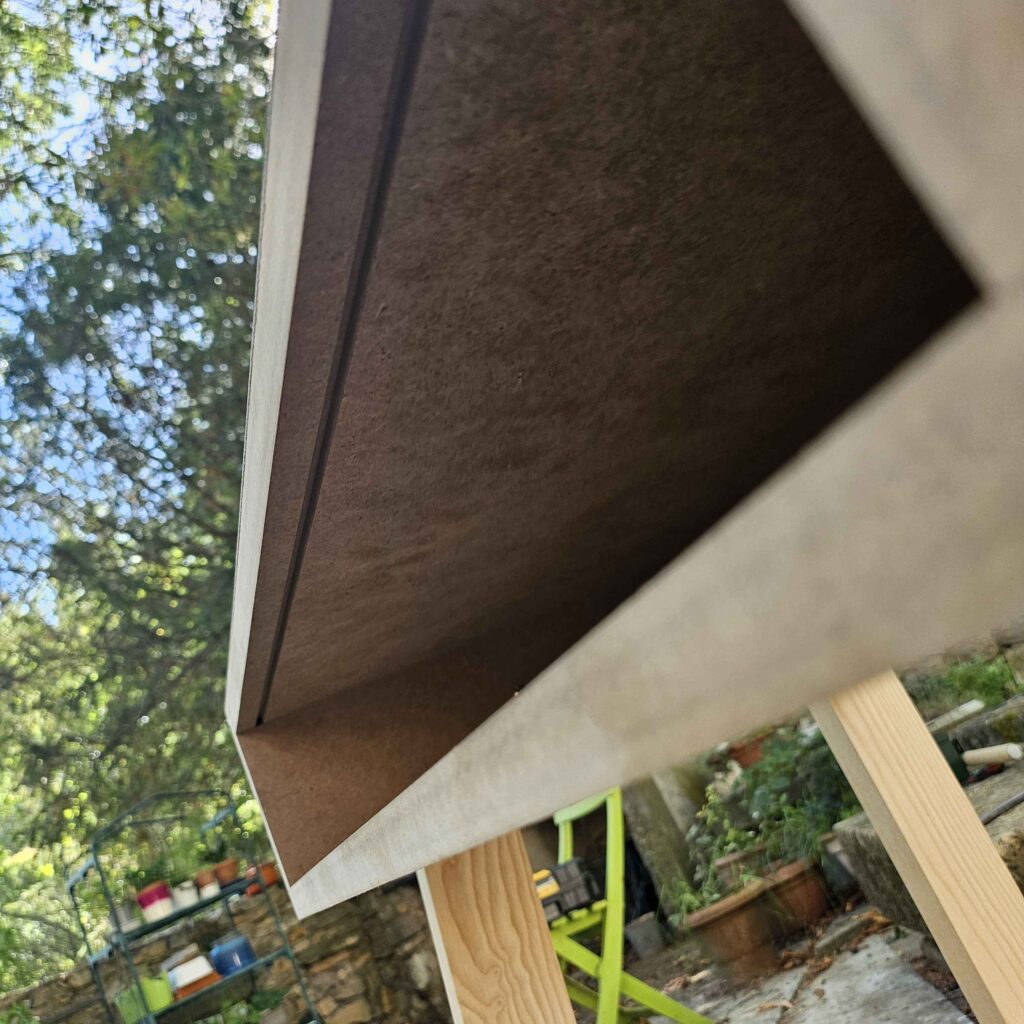
Next, the cabinet body, in MDF. A groove on the spindle moulder for the back panel, Lamello biscuit joinery.
Same pattern as the legs: I made two identical parts for the top and the bottom. The rail is not centred; the two faces are not interchangeable. When it was time to insert the panel, the groove did not line up.
I cut an extra groove to recover. Again: not elegant, but invisible. The panel is in and the cabinet body works.
3. The drawer
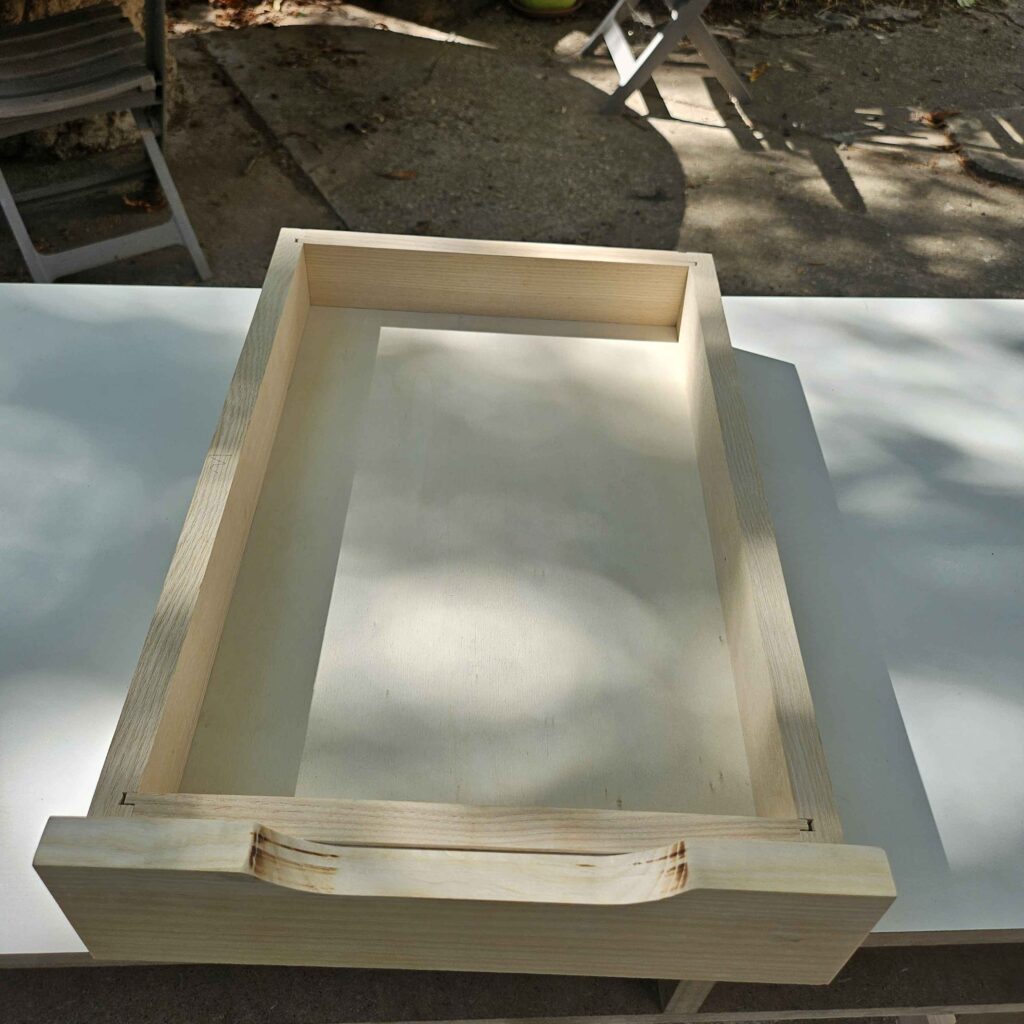
To finish the sub-assemblies, the drawer in solid ash: haunched tenons, grooves on the spindle moulder, a front with a handle cut into the solid on the spindle moulder.
After the underframe and the cabinet body, this is the part where you have to stay accurate without speeding up. The drawer shows; too much play, or a front that rubs, reads immediately.
4. The laminate
Then I glued the laminate onto the cabinet body. Only my second time. I struggled a bit. Apart from a small crack — visible on the reverse, not on the working face — it is fine.
Laminate does not forgive: a bubble, a shift, and it stays. The crack is a defect, but the cabinet body is usable.
5. Final assembly
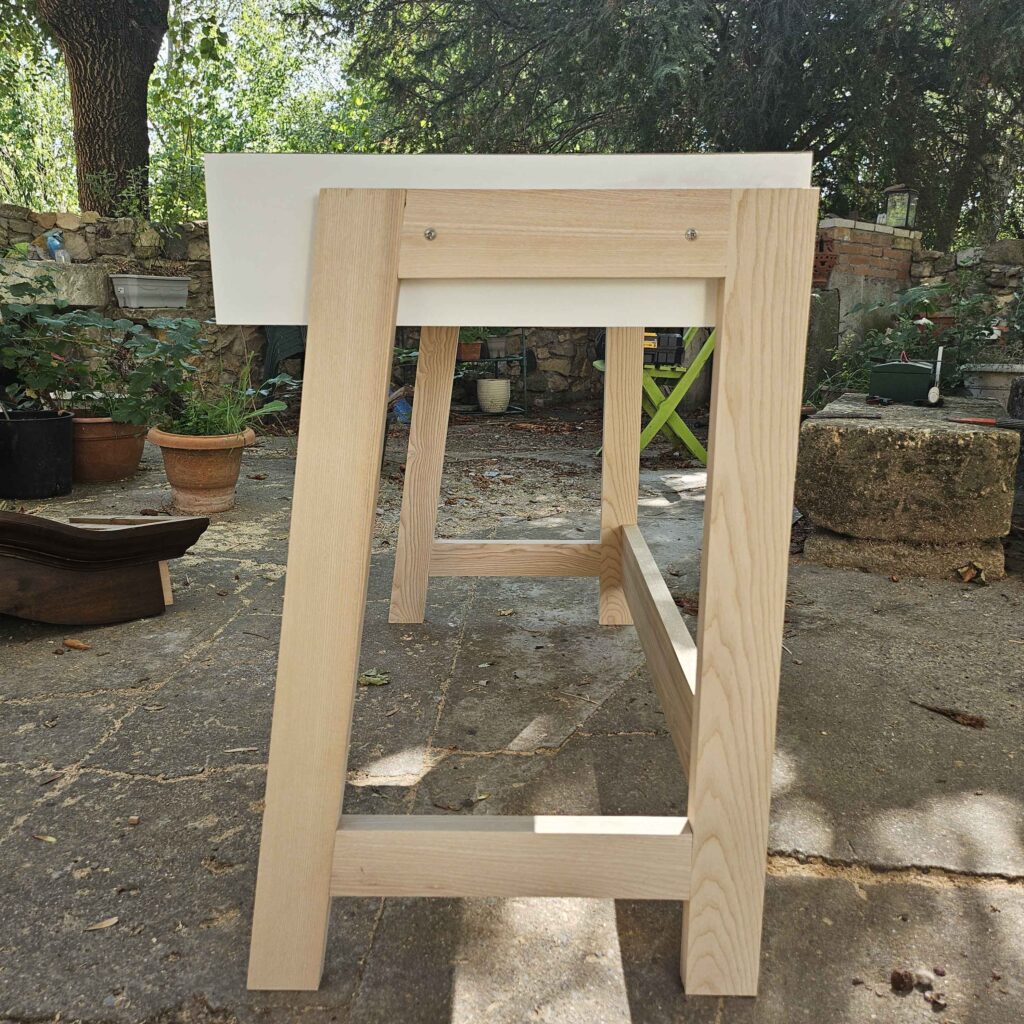
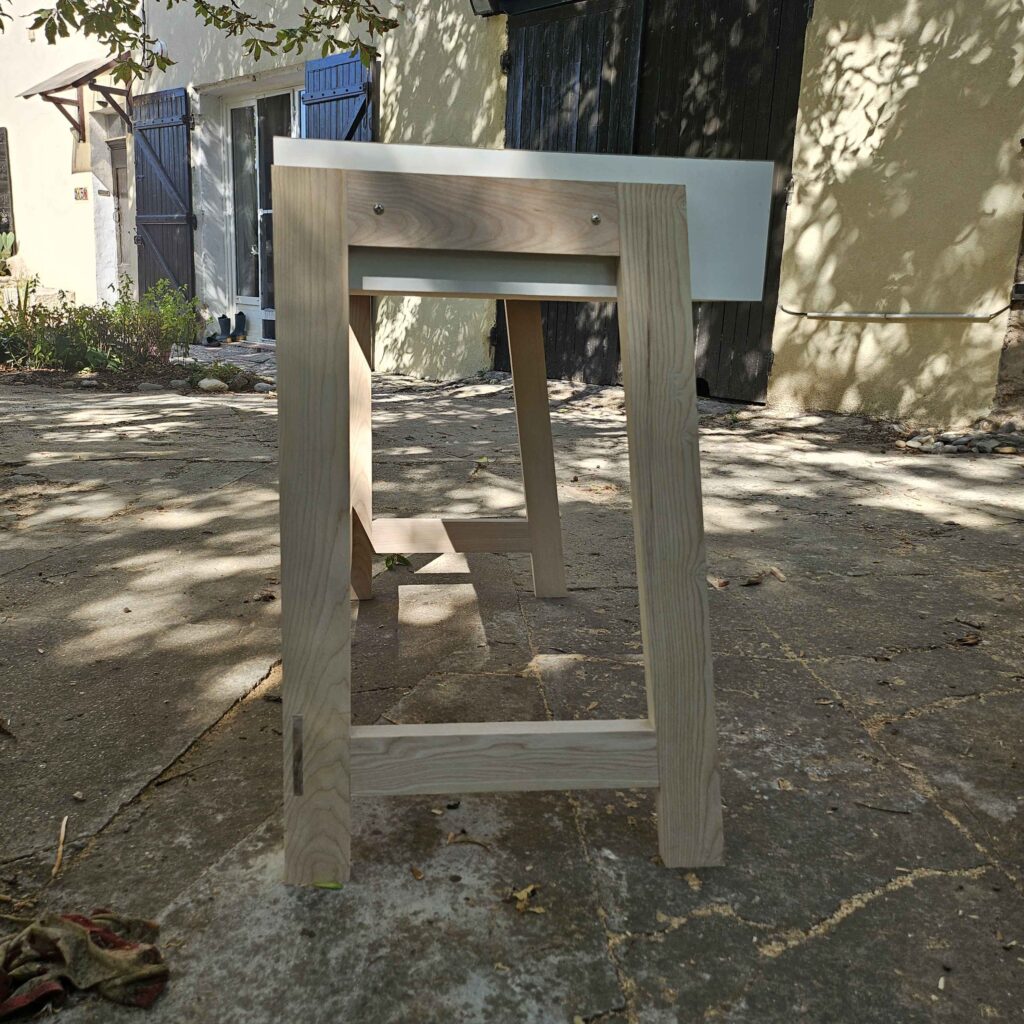
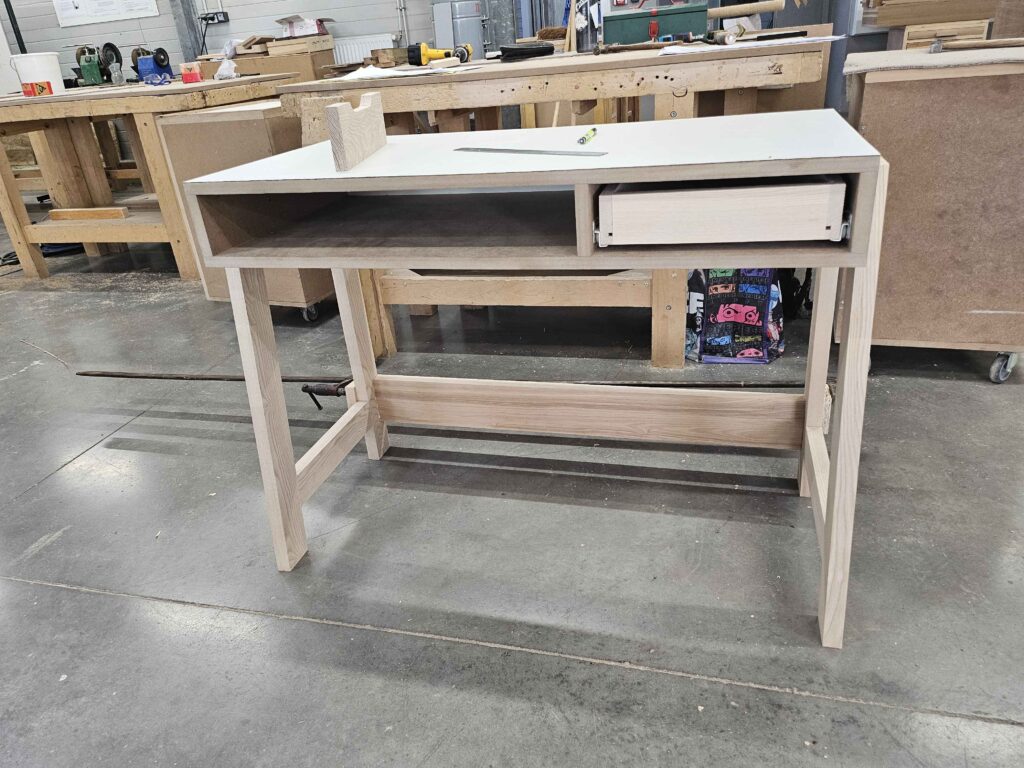
Last step: bring together the underframe, the cabinet body and the drawer. The connecting screws show on the upper rails, on each side. Once the piece is on the floor, the ash, the MDF and the white of the laminate hold together: open niche on one side, drawer on the other, lower stretcher stiffening the frame.
Feedback
The exam is not only about machining. Pre-set machines remove part of the uncertainty; what remains is reading the parts. Twice, I machined a pair as if it were the same piece twice. Twice, I recovered rather than start over. Finding a solution while keeping a cool head was satisfying.