Project completed as part of my NVQ in Carpentry and Furniture Making
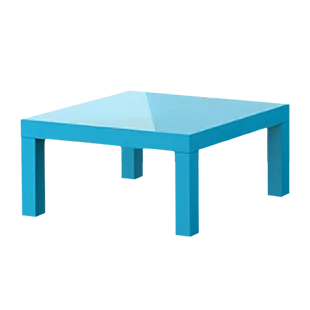
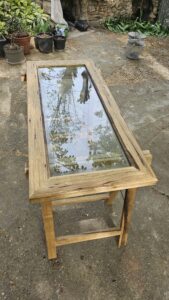
For this woodworking project, I decided to give a second life to a glass pane that had been sitting in my garage. The idea was to design a coffee table around that initial constraint, and turn it into a functional and aesthetic piece.
I took inspiration from a contemporary solid-wood coffee table with a glass top: Contemporary cherry and walnut coffee table – Ebenisterie Brettes.
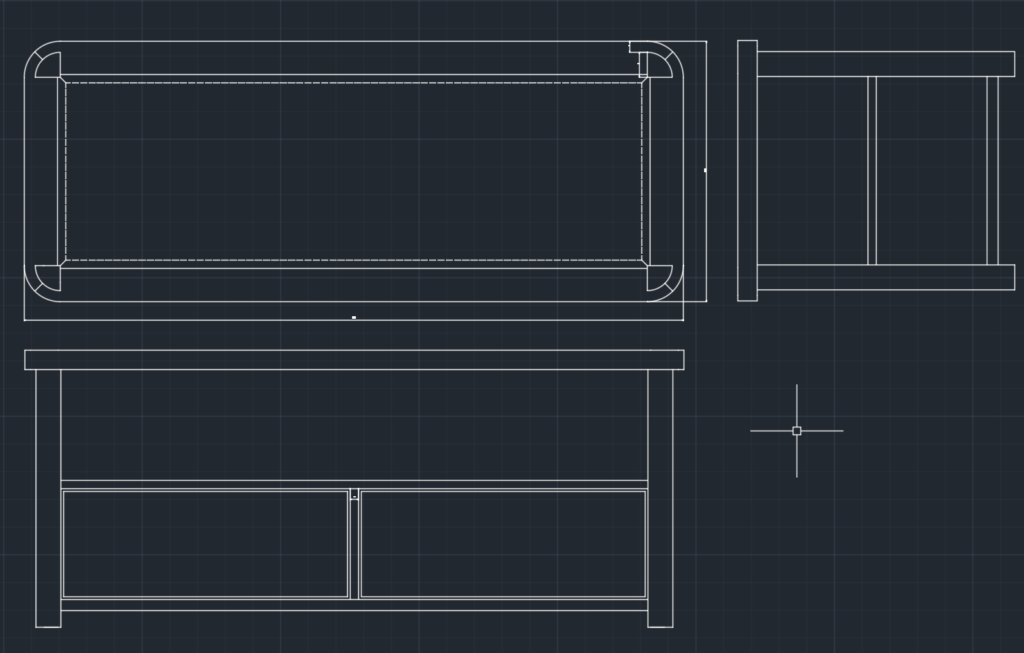
1. Layout, planning, and full-scale drawing
The first step was the design phase: taking measurements, defining proportions, drawing the plan in AutoCAD, and producing a full-scale layout.
I then discussed it with my teacher to validate the technical choices (especially the joinery) and adjust a few details before starting the build.
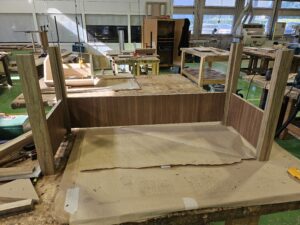
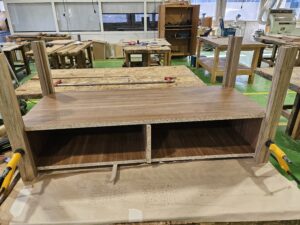
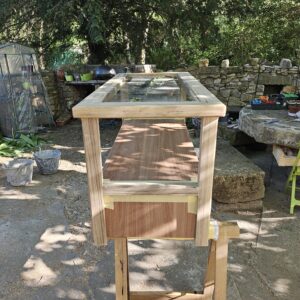
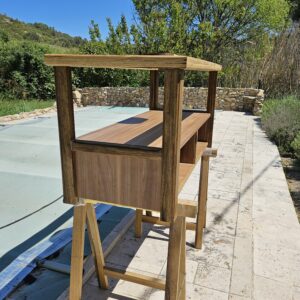
2. Making the legs and the cabinet body
I started by building the legs and the cabinet body, which form the structural base of the table.
The project was originally planned in solid wood, and the design was made accordingly.
During the build, I had to adapt: the cabinet body was ultimately made in melamine-faced board.
Changing materials mid-project was a real challenge, because several assembly and finishing choices had to be revised.
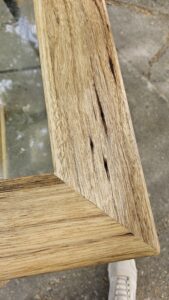
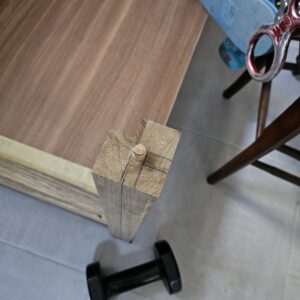
The legs remained solid wood. Because of their thickness, they first required a glue-up. They were then machined on the spindle moulder to cut grooves for the cabinet sides, and on the panel saw to create their corner profile.
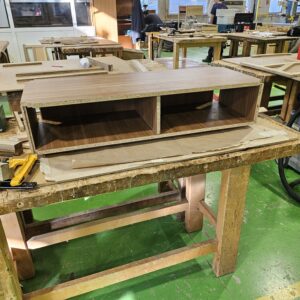
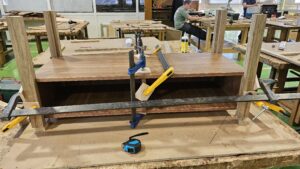
3. Gluing and assembling the cabinet body with the legs
Once all parts were prepared, I proceeded with the glue-up and the gradual assembly of the cabinet body and legs.
This phase required careful clamping and constant squareness checks to ensure overall stability.
We noticed a few imperfections, especially on the cabinet sides, but nothing too difficult to correct.

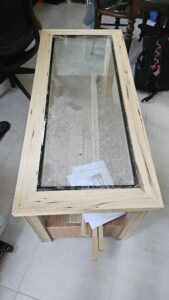
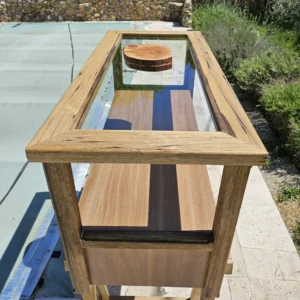
4. Building the glass top
The top was a key stage of the project, with one major constraint: the salvaged pane was double glazing.
The top was therefore built with a laminated glue-up to increase thickness and accommodate the glass.
The original goal was a flush-mounted glass surface, but this proved impossible due to an initial measurement error.
In the end, the top was not thick enough, so I had to separate the double glazing and adapt the design by adding glazing beads to fit the glass properly.
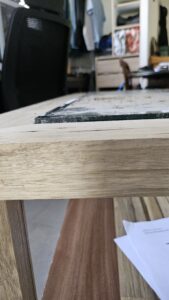
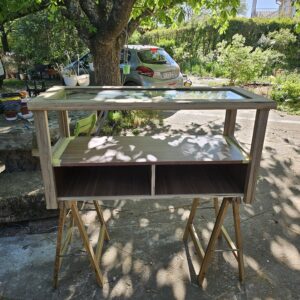
5. Finishing details
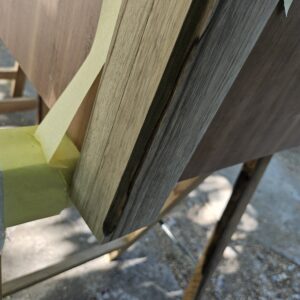
To refine the final look, I added side and front lippings to hide imperfections in the cabinet body.
The mouldings were made with a router, then the whole piece was carefully sanded in preparation for finishing.
Dowels were fixed to the legs so the top can be removed easily; this makes transport much easier.
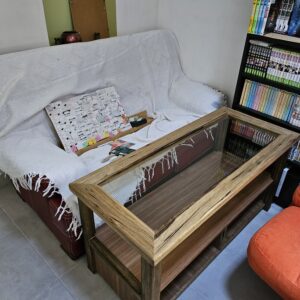
6. Oiling, varnishing, and final result
I applied oil to darken the wood and bring out the grain, then added a coat of varnish once it was fully dry.
This combination provides both visual depth and protection.
This first project taught me how to handle unexpected issues, adapt a design during production, and maintain a high standard all the way through finishing.
Feedback and lessons learned
This project was an important milestone in my transition through NVQ in Carpentry and Furniture Making.
More than anything, it taught me to work with real workshop constraints: material changes during production, unforeseen technical limitations, and the need to adapt the method without losing sight of the final goal.
Beyond the final piece itself, adaptability was the most valuable lesson I took from this coffee table.
If I were to do it again
If I were to do this project again, I would organize it differently:
- I would build the cabinet body first, independently from the legs;
- then attach the legs once the cabinet body is validated;
- and re-check the glass dimensions much more carefully before building the top.
This approach would make the workflow safer, reduce mid-project adjustments, and improve accuracy for the final glass integration.