A learning project using melamine panels
This project marks the build of my first kitchen cabinet.
The goal was to learn a clean and repeatable workflow: full-scale layout, panel cutting, edge banding, and biscuit-joint assembly.
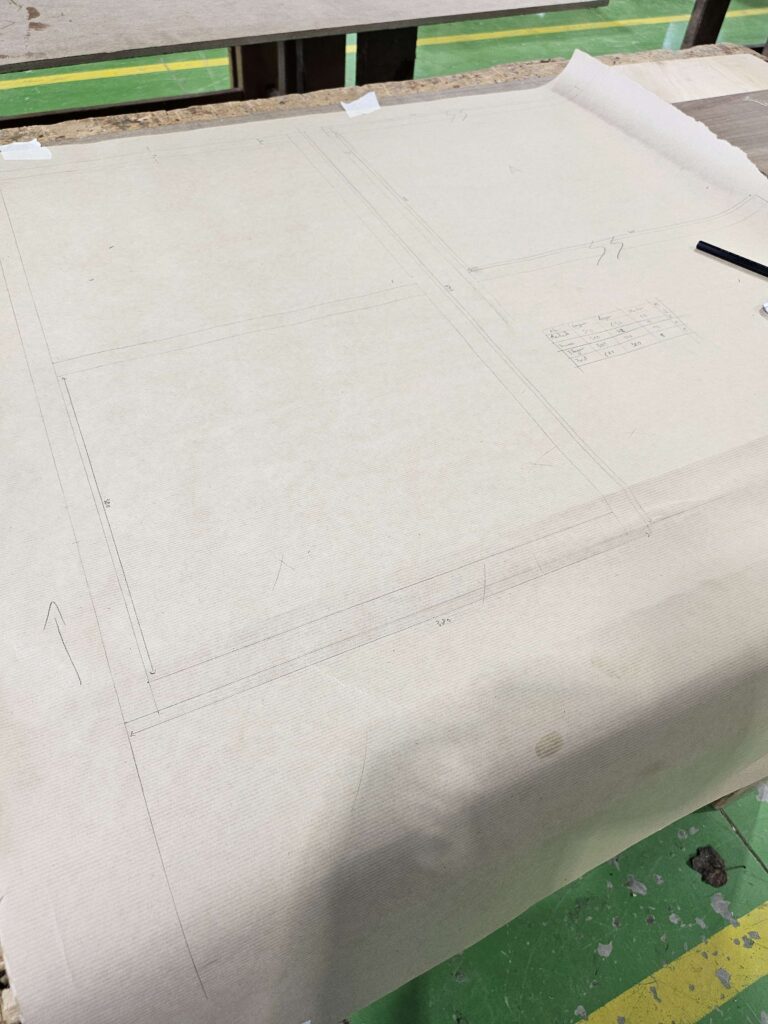
1. Full-scale layout
As with my other projects, I started with a full-scale layout to validate dimensions, assembly logic, and part organization before machining.
This step helped me avoid planning mistakes and build with a clearer sequence.
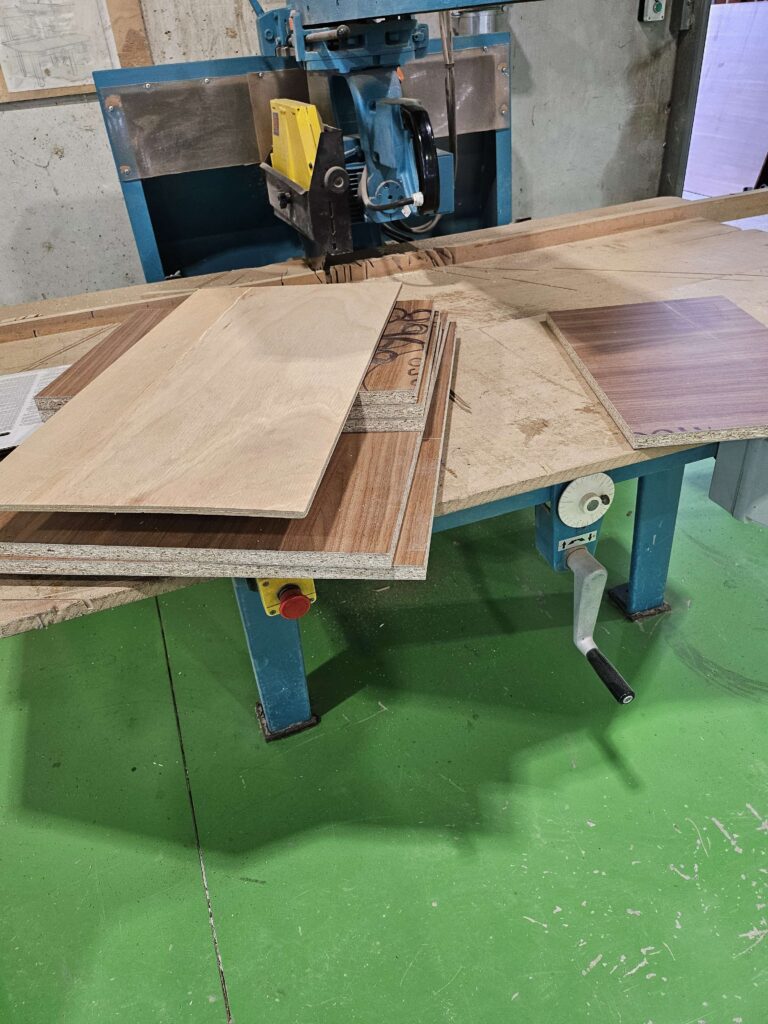
2. Cutting melamine panels
I then moved on to cutting the melamine panels.
Compared with solid wood, this stage is easier to plan because the material is standardized: in this project, all panels were 19 mm thick.
One major advantage is that you do not need extra stock for jointing and planing, as you would with rough solid wood.
The process is more direct, provided your measurements are accurate from the start.
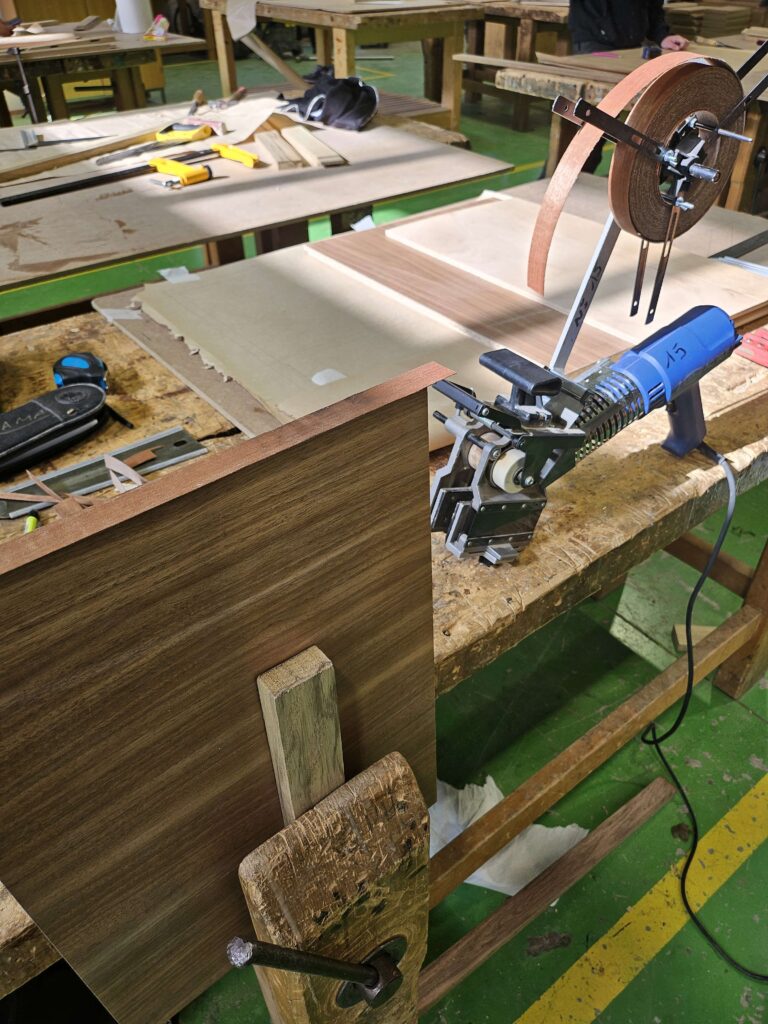
3. Edge banding
After cutting, I applied edge banding to achieve clean edges, protect panel sides, and improve the final appearance.
This step requires consistency and precision to maintain a neat finish across the whole cabinet.
4. Assembly with biscuits
The cabinet was assembled using biscuits (Lamellos).
The key point in this project was accuracy: layout and slot cutting for each biscuit had to be very precise so all parts aligned correctly.
Well-positioned biscuits make assembly easier and help produce a cabinet that is clean, square, and stable.
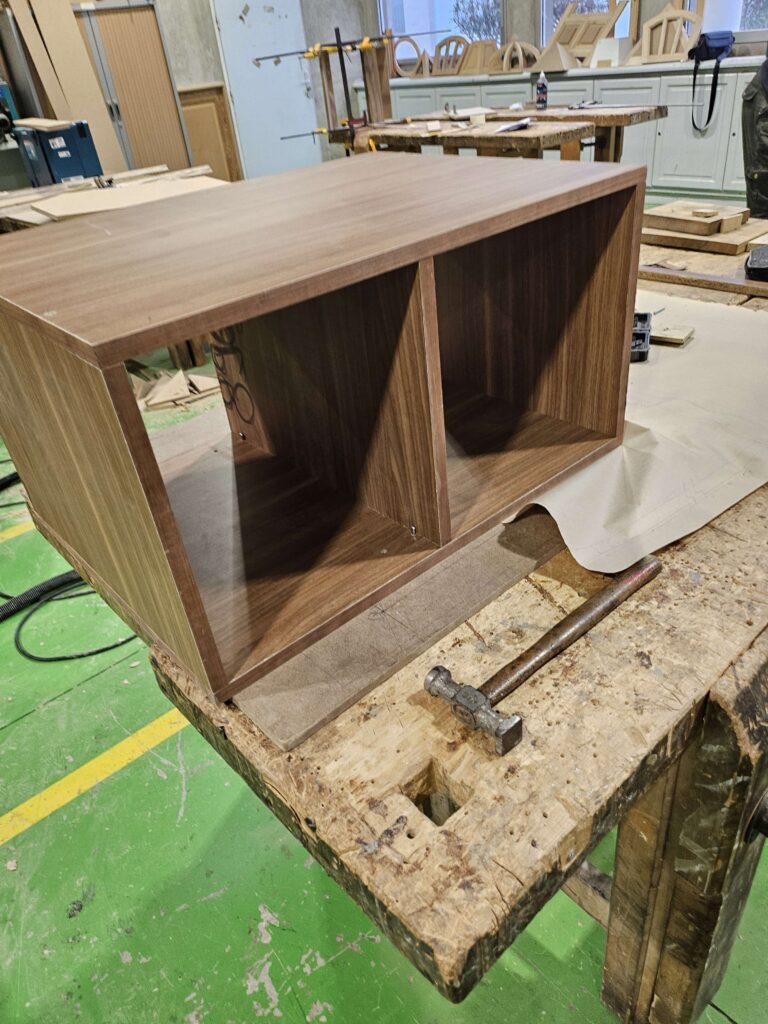
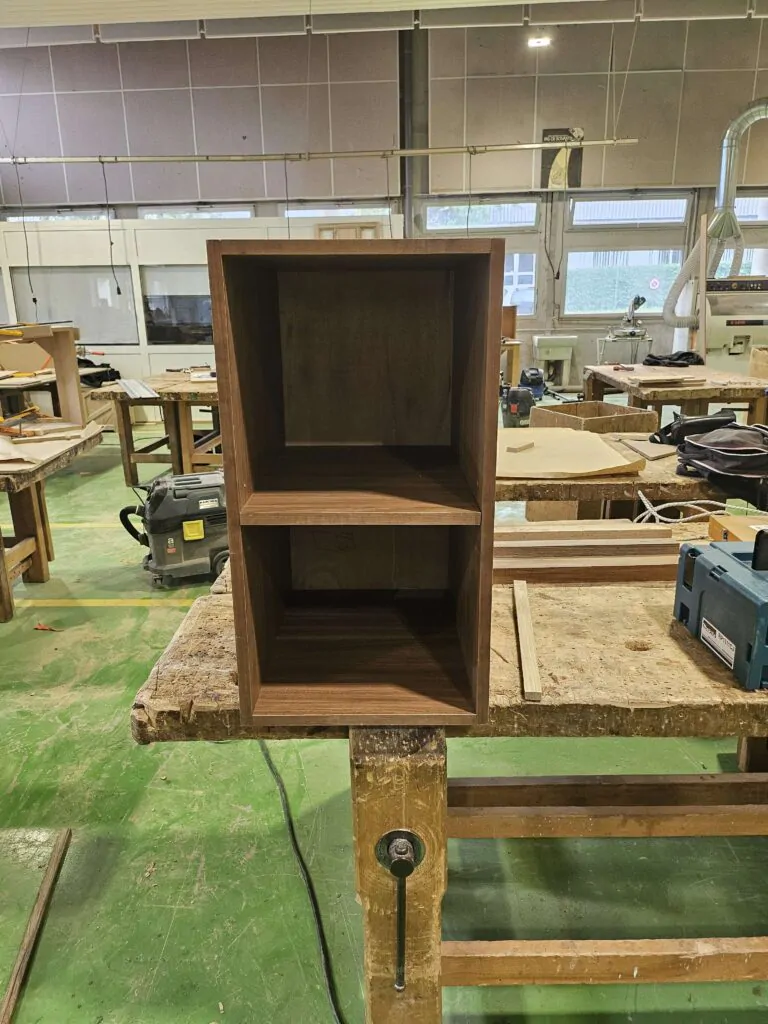
5. Final result
This first kitchen cabinet introduced me to a more “systematic” workflow than solid wood projects, with standardized materials and tighter dimensional discipline.
Most importantly, it showed me that even with standardized panels, final quality still depends on precise layout and careful execution at every step.