A project that marked my first use of a table saw
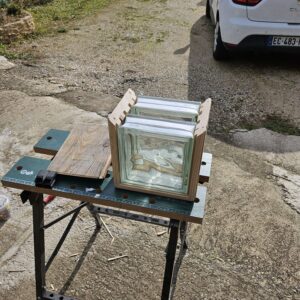
The goal was to create a decorative lamp using glass blocks fitted into a wooden frame, with an LED strip integrated inside.
1. Concept and goals
The starting idea was to build a simple but clean decorative object, combining the warmth of wood with the light diffusion of glass blocks.
This project allowed me to experiment with several techniques for the first time:
- 45-degree cuts on a table saw;
- grooving on a table saw;
- assembly and gluing.
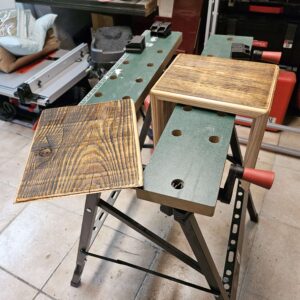
2. Machining the wooden parts
I designed the frame using four identical wooden parts, which simplified production and reduced setup errors.
The groove machining was also symmetrical: left and right grooves are identical, so the same operation can be repeated by simply rotating the part.
This machining logic made the process easier and more consistent.
3. Functional grooves for glass blocks and LED strip
I made two types of grooves:
- standard grooves to fit the glass blocks cleanly and securely;
- a wider groove to house the LED strip inside the frame.
The objective was a clean assembly, with no visible “quick fixes,” and a neat look both when the lamp is off and on.
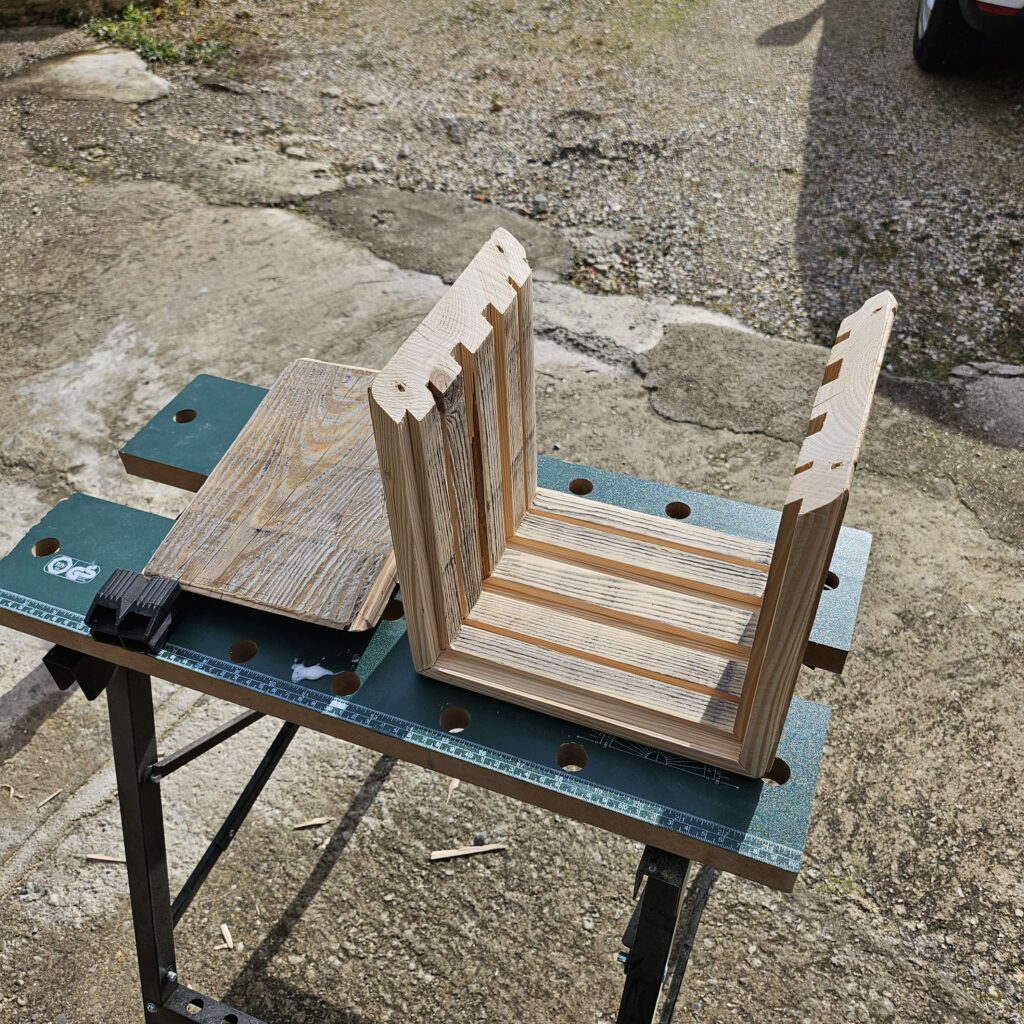
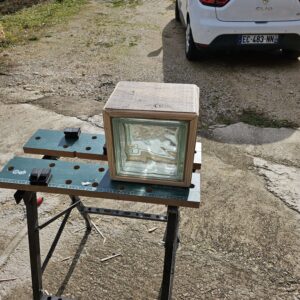
4. Assembly, gluing, and removable side panel
After machining, I did a dry fit to check all dimensions and alignment, then assembled and glued the main structure.
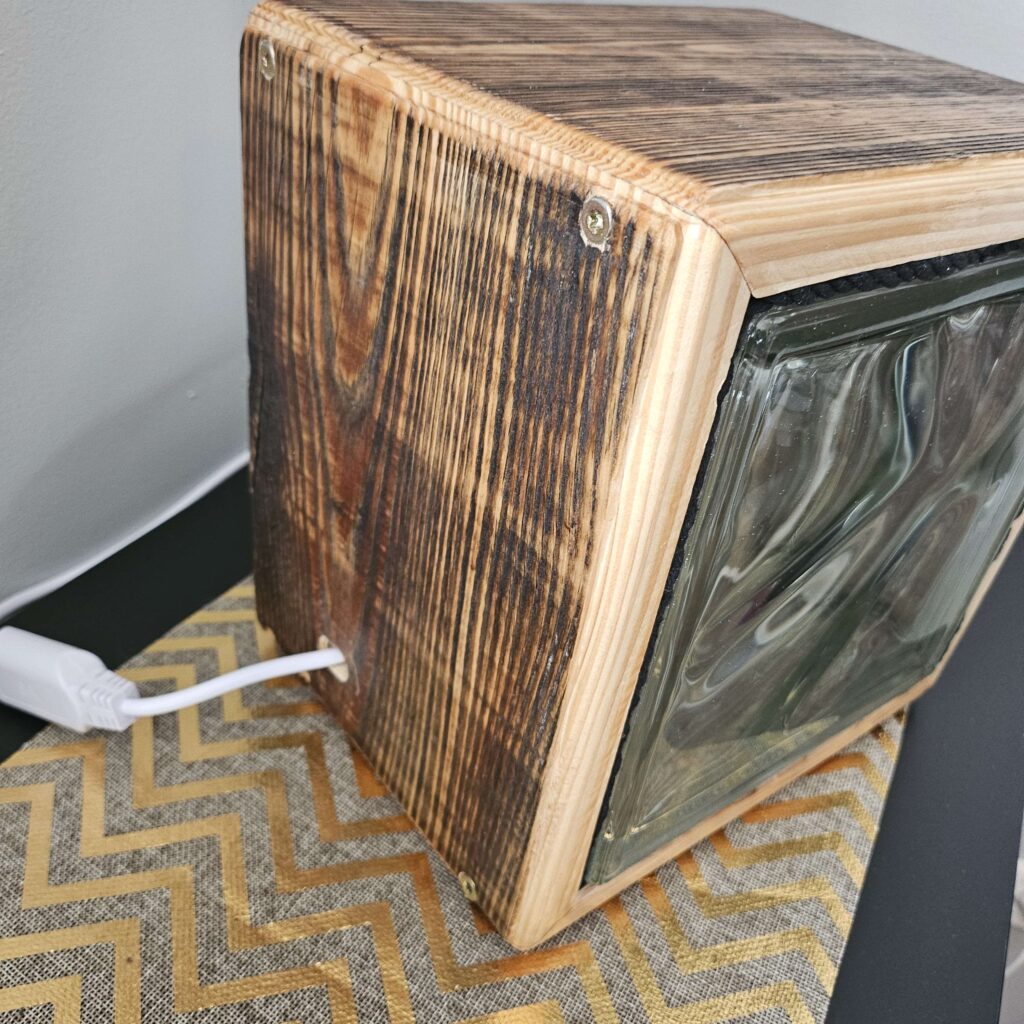
I intentionally designed one side to be removable so I can easily replace the glass blocks or the LED strip if needed.
For this part, I used screws as a default practical solution, which still allows quick and effective assembly/disassembly.
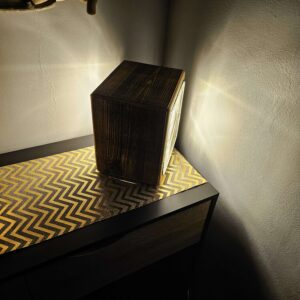
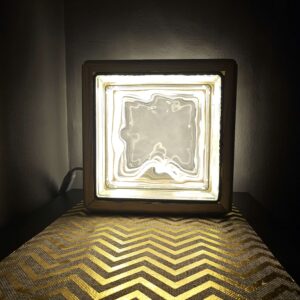
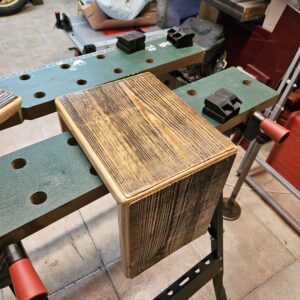
5. Epoxy finish and final result
After surface preparation, I applied an epoxy finish to protect the wood and enhance the grain.
Combined with the internal LED strip and the glass blocks, the lamp creates a soft and warm light effect.
Challenges encountered
This project also highlighted several key learning points:
- the original board was not straight;
- measurements required more precision than expected at first (including details like pencil line thickness and measurement references);
- I did not yet understand the importance of jointing and planing before machining;
- I am not fully satisfied with the cable exit hole, which could be cleaner and better positioned.
What this project taught me
This project taught me the importance of proper stock preparation before machining, and the value of consistent reference faces and edges during layout and cutting.
It also showed me how useful symmetry and repeated parts are for reliable manufacturing.
Finally, it taught me to include maintenance logic directly in the design, by adding a removable side for easier access to the LED strip and glass blocks.
If I were to do it again
If I built this lamp again, I would improve several points:
- prepare the wood systematically first (jointing and planing);
- define a stricter measurement method from the beginning (reference face, reference edge, fine marking);
- improve the cable outlet with cleaner positioning and drilling;
- create a drilling guide/jig for a cleaner and more repeatable cable exit;
- explore a more refined removable-side system than standard visible screws.